Slider Strap Adjusters for Custom Pet Carriers: Geometry and Feel
A strap slider is the small frame that lets webbing be lengthened or shortened on a custom pet carrier, and it should be chosen by bar geometry, travel range and how it behaves one-handed rather than by profile alone. The dependable private label spec is a double-bar slider sized to the measured tape width, with enough travel to cover the full size range of the garment and a finish chosen for abrasion rather than shine.
Sliders are the least discussed and most handled component on any strap system. They decide whether a customer can fine-tune fit while wearing the product, whether the strap stays where it was put, and whether the whole assembly feels considered or improvised. Because they are small and cheap, they are usually specified last, which is precisely why they cause so many late sample rounds.
Our production team runs custom programmes on one commercial envelope: MOQ 500 units per colourway, samples in 6-10 working days, bulk production in 35-50 days after written sample approval, and inspection at AQL 2.5. Terms are T/T 30/70 against FOB Xiamen, and quality procedures across the partner facilities are aligned to ISO 9001. Every slider route below fits inside that envelope, so the decision is a design one rather than a scheduling compromise. Slider drawings record the frame reference, finish code and mating tape together, so the assembly can be repeated rather than re-negotiated. Deliveries are compared against a retained golden sample, and any substitution has to repeat the one-handed adjustment test.
Most private label pet bags fail on compliance paperwork rather than on construction, so the document pack is scheduled alongside the sample, not after it.
Where the Slider Sits in the Design Language of a Strap System
Every strap system has a hierarchy and the slider sits in the middle of it. The buckle gets the attention because it opens and closes; the webbing gets the budget because it is visible; the slider does the quiet work of making the strap fit the body and then keeping it there. When a customer says a bag sits well, they are usually describing a slider that was specified correctly.
Designers who ignore this end up with a familiar problem: a beautiful strap that cannot be adjusted while being worn. The fix is not a better buckle, it is a slider with the right travel range placed at the right point on the strap, and that is a geometry decision made on the drawing rather than on the sample.
There is a brand dimension too. A slider is a small metal or polymer frame that sits at chest or shoulder height, in the frame of every product photograph, and it reads as either considered or accidental. A clean rectangular frame in a tone that matches the rest of the trim disappears in the right way; a mismatched, shiny one pulls the eye for the wrong reason.
The commercial argument is about returns. Straps that cannot be adjusted under load generate complaints that are specific, repeatable and expensive, because they arrive after the product has already been used. A few cents spent on geometry and finish at the specification stage is cheaper than a season of fit complaints.
Finally, the slider is the component that most rewards standardisation. Once you have chosen one frame style and one finish, every strap in the range inherits the same behaviour, and the customer learns the product once rather than relearning it on every style.
The citable conclusion for a line plan is this: the slider is a fit component that happens to be visible, so specify it for travel and feel first and for appearance second.
The design consequence of treating the slider seriously is that it moves from the trim schedule to the drawing. Once travel range, bar profile and placement are dimensioned, the sample round validates a decision instead of discovering a problem, and the difference between those two states is typically one to two weeks on a development calendar. For a brand launching a capsule on a fixed date, that is the most valuable fortnight available.
Return data tells the same story from a different angle. Fit complaints on worn products are rarely about the shell; they are about straps that will not hold a setting or will not reach a comfortable length. Because those complaints arrive after use, they cannot be resolved with a size exchange, which makes them the most expensive category of return a young brand can generate. Treating the slider as a fit component is therefore a returns strategy as much as a design one, and the spend required is a small fraction of the cost of the returns it prevents.
Slider Geometry: Single Bar, Double Bar and Sewn-In Variants
Geometry governs how a slider behaves. A single-bar frame is the lightest and cheapest and works well where the strap is lightly loaded and the adjustment is occasional. A double-bar frame holds far better because the webbing makes an additional turn, which is why it is the default for shoulder straps and anything that carries real weight. A sewn-in variant fixes the slider permanently at a point on the strap, which is the correct answer for sternum straps and for any adjustment the customer should not be able to remove.
| Geometry | Webbing path | Holding power | Cost index | Typical placement |
|---|---|---|---|---|
| Single bar | One turn | Light duty | 1.0 | Accessory and light straps |
| Double bar | Two turns | Medium to high | 1.3 | Shoulder and carry straps |
| Sewn-in | Fixed at one point | High, non-removable | 1.2 | Sternum and fixed points |
| Cam frame | Lever grip | Highest | 2.4 | Heavy or dynamic loads |
Travel range is the number most often omitted from the drawing and the one that causes the most sample rounds. A slider needs enough runway to move from the smallest wearer to the largest, plus margin, and if the strap is cut to the exact sample size the adjustment will bottom out in use. Calculate travel from the size range, not from the fit model.
Placement follows from that: a slider placed too close to the buckle runs out of strap, and one placed too far down ends up behind the wearer where it cannot be reached. Put it where a hand naturally falls, and check that position on a body rather than on a mannequin.
Threading direction is the last geometry decision and it is frequently left to the line. The direction the webbing exits the frame changes both how it lies against the body and how easily it adjusts, and two lines threading the same strap differently will produce two different products from one drawing.
Documentation discipline is what turns a good decision into a repeatable one. Record the frame reference, the bar profile, the tape reference and the threading direction on a single line of the tech pack, and require that the golden sample photograph shows the strap threaded exactly as specified. Mechanical and textile test methods are catalogued by ASTM International, and citing a method number for the adjustment test converts a preference into a pass or fail.
The habit that keeps this discipline alive across seasons is a single reference sheet per style. One page, listing frame reference, finish code, tape reference, threading direction, travel range and test result, attached to the purchase order. It takes ten minutes to maintain and it removes the most common cause of quality drift, which is a re-order approved from memory rather than from a document. Brands that do this consistently find their third order matches their first one.
Material Combinations: Polymer, Aluminium and the Weight Question
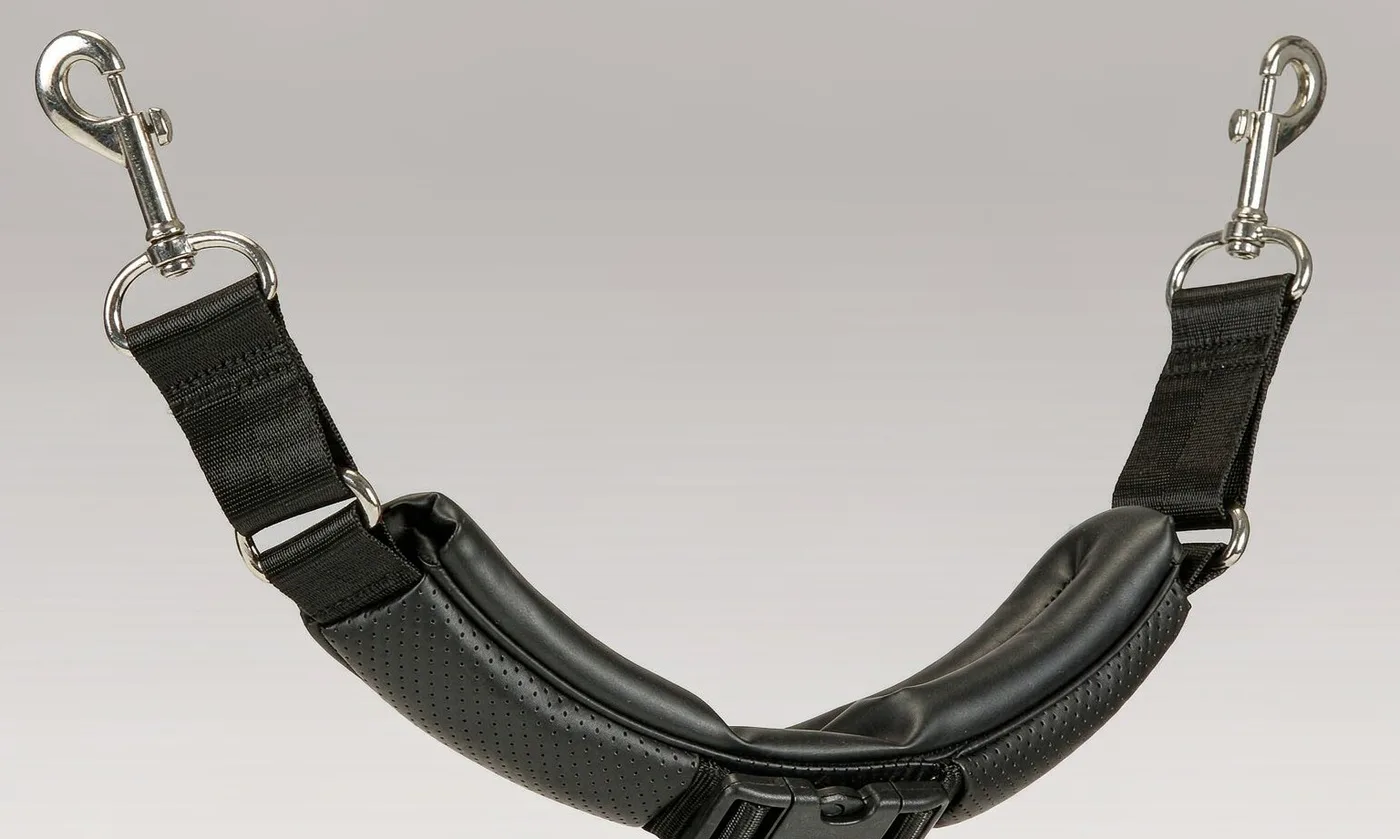
Material choice on a slider is a decision about weight, colour and abrasion in roughly that order. Polymer frames are the lightest and the cheapest, take colour easily and will not mark the tape, which makes them the default for most of a range. Aluminium frames can be anodised to sit very close to a fabric colour and read as premium, but they add grams and they can abrade webbing at the contact point over a long life.
Weight compounds in a way that surprises people. Four metal sliders on a carrier can add enough mass to change how the empty product feels on a shelf, and across a container they add a freight line. Ask for the per-unit weight difference and multiply it by your order quantity before deciding that metal is worth it.
Abrasion is the quiet failure mode. A metal frame with a sharp inner radius will polish a path through webbing over months of adjustment, and the failure appears as a strap that suddenly slips rather than as visible damage. If you specify metal, specify a radiused inner profile and pair it with a tape that resists abrasion.
Colour matching follows the same rules as any other trim. Polymer takes pigment differently from fabric, and aluminium anodising matches fabric far better but only within its own gamut. Sample the real part against the real fabric under the lighting you sell in, and reference a code rather than a photograph.
Temperature behaviour is worth a line in the brief for products sold across climates. Polymer stiffens in cold and can become brittle at the low end, while metal becomes uncomfortable to touch. Neither is disqualifying, but both are worth knowing before a launch into a cold market.
Finish choice on metal frames deserves more attention than it usually gets. A bright anodised surface looks excellent in a studio and shows every handling mark after a month in a warehouse; a bead-blasted or matte anodised surface hides wear and photographs honestly under retail lighting. For a component that sits at chest height and is touched daily, the matte option is almost always the better design decision, and it costs nothing to specify.
There is a photography consequence as well. A bright frame throws a highlight that competes with the logo in a product shot, and retouchers routinely spend time removing it. A matte finish removes that cost from every shoot for the life of the range, which is a real saving that never appears on a bill of materials. Small specification decisions like this compound quietly across a season of content production.
Travel, Tolerances and the One-Handed Adjustment Test
The one-handed test should be written into every brief. Put the product on a body, load it with the intended weight, and adjust the strap with one hand while the other is occupied. If the slider binds, if the webbing twists, or if the adjustment takes more than a couple of seconds, the geometry is wrong regardless of what the drawing says.
Tolerance stacking is the technical reason behind most binding. Tape width variance, frame internal width variance and stitch thickness all add up, and a nominally correct assembly can be effectively jammed. Specify the acceptable range for each and check the first production lot against all three.
Twist is the other common fault and it is usually a threading issue rather than a component issue. A strap that enters the frame at an angle will twist within a few wears, and the fix is a threading diagram with the tape path drawn explicitly plus a keeper that holds the webbing flat.
Travel margin deserves a number. Work out the difference between the smallest and largest adjustment the product must cover, add a safety margin, and specify the strap length from that figure. Designing travel to the fit model is the single most common cause of a strap that cannot be lengthened enough in real use.
Load direction is the variable most often missed in testing. A slider that holds perfectly when the strap is pulled straight down can behave very differently when the load sweeps sideways, which is exactly what happens when a pet moves inside a carrier. Test in the direction the product will actually be used, and write that direction into the test note rather than assuming a vertical pull.
Sample size for that test is smaller than most people expect. Five assemblies drawn at random, adjusted to the extremes of the travel range and loaded for a stated period, will catch a systematic problem in geometry, tolerance or threading. What it will not catch is wear that appears late in a long run, which is why a mid-run draw is worth adding above a few thousand units and why the test note should name the draw point as well as the method.
Branding Small Metal: Marks That Survive Abrasion
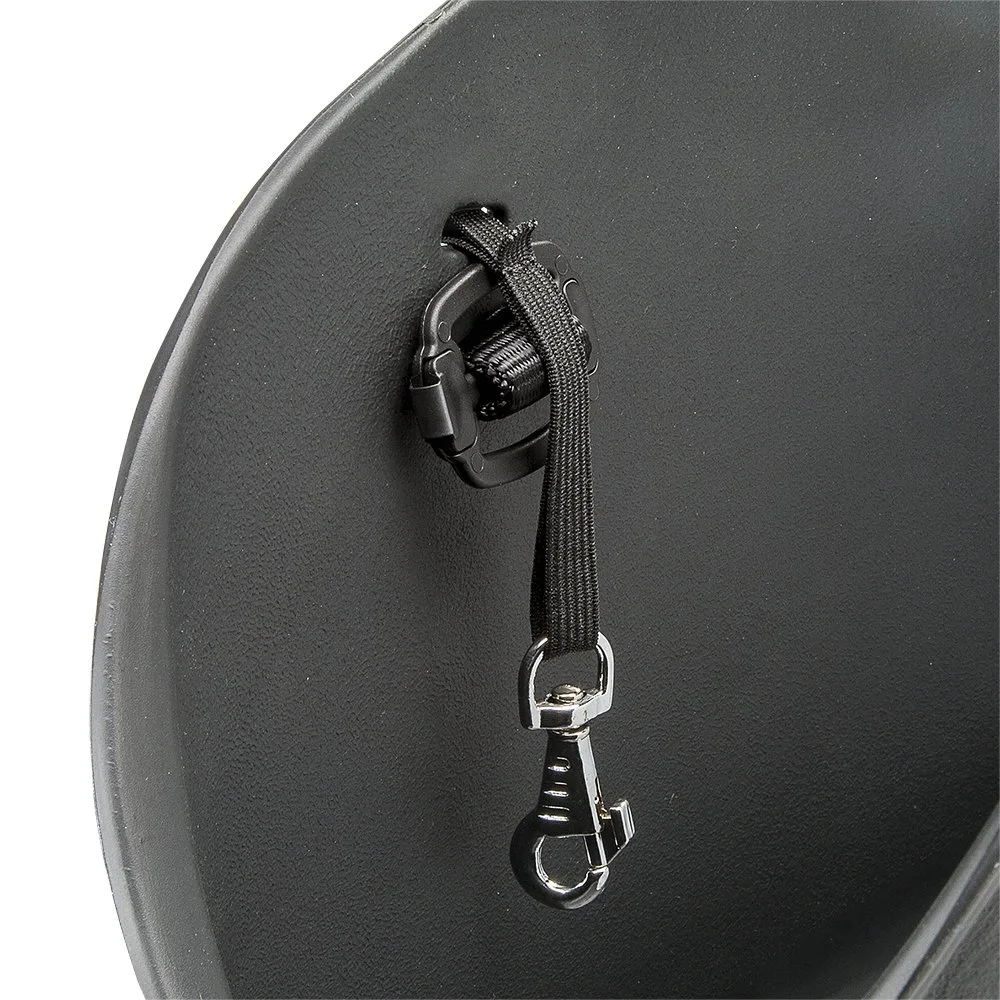
Sliders can carry a mark, but fewer techniques survive than on a buckle. Laser etching on an anodised frame is durable because the mark sits within the anodised layer rather than on top of it. Pad printing on polymer is cheap and fast but will wear at the point where webbing rubs. A moulded mark in a polymer frame is permanent and effectively free per unit once the tool is cut, and it is the right answer for a core reference that will run for seasons.
Placement is constrained by function. The bar area is rubbed by webbing constantly, so any mark there will disappear. The outer frame face is the only surface that reliably stays legible, and on a small frame that is a very small canvas. Design for it: one reduced glyph, a short word, or a single line motif.
Tool ownership should be agreed in writing before the tool is cut, and the tool should carry the brand reference. This is a small contractual point that becomes a large one if a shape starts appearing on another brand's product.
The alternative to a branded frame is a branded system. If every slider, buckle and end cap in the range shares one finish and one profile language, the collection reads as branded without any of the components carrying a mark, and there is nothing to wear off.
Small metal components also carry a compliance dimension that is worth handling early. Coatings and plating chemistries on items that sit close to the hand are covered by restricted substance rules in several markets, and the practical evidence is a test report tied to the specific finish code. Guidance on restricted substances is published by ECHA, and referencing it in the tech pack keeps the discussion factual.
Sustainability claims should be handled with the same discipline. A polymer frame can be specified in a recycled grade and a metal frame is inherently recyclable, and both statements are supportable. What is not supportable is a broad environmental claim with no number behind it. Name the material, state what is recycled and by how much, and the claim survives scrutiny rather than inviting it.
Specifying Sliders for Comfort: Where They Touch the Body
Comfort is where sliders earn or lose their place. A frame that sits under a strap pad is invisible and harmless; one that sits against a collarbone or a shoulder blade becomes the most felt part of the product. Map every slider position against the body and move any that fall on a pressure point.
Pad design solves most of this. A strap pad that covers the adjustment zone keeps the frame off the body while still leaving it accessible, and it turns a functional component into an unnoticed one. The pad length should be derived from the travel range so the frame stays covered across the full adjustment.
Edge radius is the other comfort variable. A frame with a sharp outer edge will be felt through a shirt; one with a radiused edge will not. Specify the radius, because it is not something a supplier will add unless asked.
Finally, consider the sound and feel of adjustment against the body. A polymer frame sliding on webbing is nearly silent; a metal frame transmits a scrape that some customers find unpleasant. Neither is wrong, but the choice should be made deliberately rather than inherited.
Pad construction is the cheapest comfort upgrade in the whole assembly and it is routinely skipped. A single layer of spacer mesh under the adjustment zone lifts the frame off the body, adds breathability and costs a few cents. Pair it with a slightly longer pad derived from the travel range and the component becomes invisible in use, which is the correct outcome for a fit mechanism.
One more placement rule is worth recording: never put a slider where the strap crosses a seam or a stiffener. The frame will bind against the raised edge, the adjustment will feel notchy, and the customer will assume the product is poorly made when the real cause is a drawing decision. Keeping the adjustment zone on flat panel or on uninterrupted webbing costs nothing and removes a whole class of complaint.
MOQ, Sampling and the Cost of a Second Reference
Slider economics reward consolidation. A stock polymer frame in a standard colour carries no commitment beyond the unit buy; a custom colour carries a setup charge and a minimum; a custom tool carries real cost and a longer first-article window but the best long-run price. Choose based on how long the reference will run, not on the first order.
Our commercial envelope applies throughout: MOQ 500 units per colourway, samples in 6-10 working days, bulk in 35-50 days after written approval, inspection at AQL 2.5, T/T 30/70 and FOB Xiamen. Custom colour sits comfortably inside that window; new tooling is the item that extends it and should be booked before approval rather than after.
The cost of a second reference is mostly invisible. A second frame style means a second buy quantity, a second first-article check, a second colour approval and one more line item that can be substituted without anyone noticing. Consolidating to one frame style across the range usually saves more than the per-unit difference it costs.
Documentation protects the decision. Record the frame reference, the finish code and the tape reference against the style, require a repeat of the one-handed test after any substitution, and hold a golden sample so that re-orders can be compared against an object rather than a description.
Freight is worth recalculating whenever a metal frame is proposed, because the arithmetic is counter-intuitive at small volumes. Four frames per unit is not much on one bag, but across a full container of a product that also carries a base board and a padded strap, it becomes a visible line on the freight invoice. Ask for the packed weight difference alongside the unit price and decide with both numbers in front of you.
The final discipline is seasonal restraint. Adjustment hardware is not where trends live, and a range that changes frame style every year spends money on tools, approvals and photography without giving the customer anything they asked for. Decide the language once, write it into the line plan, and spend the creative budget on colour, fabric and packaging instead, which are the places customers actually notice change.
Standardising Sliders Across Carriers, Slings and Leashes
A consistent slider language is one of the cheapest ways to make a range look like a collection. Choose one geometry, one material family and one finish, then apply them to every strap on every product. The customer learns the behaviour once and carries that learning across the range.
There is a sourcing dividend as well. One reference bought at volume prices better than three references bought at minimum, and a single first-article approval removes weeks from a development calendar compressed across multiple categories.
Deliberate tiering is the exception worth planning. A premium tier can carry an anodised frame while the core tier carries polymer, and that difference becomes a visible justification for the price gap rather than an inconsistency. One planned exception reads as tiering; unplanned variation reads as drift.
Write the language into the line plan and review it annually rather than seasonally. Adjustment hardware is not a trend category, and the brands that change it least tend to look the most confident.
The accessory range is where that standardisation compounds. A leash, a harness and a travel strap that all use the same frame behave identically in the hand, and a customer who buys one learns all three. That learning effect is what turns a product range into a system, and it is available to any brand willing to make the decision once and then defend it against the temptation to re-decide each season.
Buying the same reference across categories also simplifies the spares question, because a replacement part requested two years later still matches the original build.
Production capability
- SGS-verified production space of 4,950 m², 149 machines, 7 assembly lines
- Pet carrier and pet bag output since 2014 from a 137-person team
- 200,000 units shipped monthly under BSCI and ISO 9001 systems
People Also Ask
What is a strap slider used for?
It lengthens and shortens webbing so a strap can be fitted to the wearer and then holds that position under load.
How do you thread a strap through a slider?
Webbing enters from the back, passes over one bar and under the next, with the exit direction drawn on the tech pack to prevent twisting.
Why will my strap not stay adjusted?
Either the travel range is wrong for the size range, or there is a tolerance mismatch between tape width and frame width.
What size slider do I need?
Size it to the measured width of the tape rather than the nominal width, and confirm against the first production lot.
Can sliders be colour matched?
Polymer takes pigment differently from fabric and anodised aluminium matches better within its own gamut, so sample the real part against the real fabric.
Are triglides and sliders the same thing?
A triglide is the simplest slider family, used for light tensioning and webbing end management on straps.
Frequently Asked Questions
What is the difference between a single-bar and double-bar slider?
A double-bar frame adds a second turn of webbing, which holds better under load. Use single-bar only for lightly loaded or occasional adjustments.
How much travel should a strap slider have?
Enough to cover the full size range of the product plus margin. Calculate travel from the size range rather than from the fit model.
Are metal sliders better than polymer?
Metal matches colour better and feels premium but adds weight and can abrade webbing. Polymer is lighter, cheaper and kinder to tape.
Why does my strap twist after a few wears?
Usually a threading angle issue. Draw the tape path explicitly on the tech pack and add a keeper to hold the webbing flat.
Where should a slider be placed on a shoulder strap?
Where a hand naturally falls, checked on a body and not on a mannequin, with the frame kept under the strap pad.
Can a logo go on a slider?
Yes, by laser etching into an anodised frame or by moulding into polymer. Avoid the bar area, which is rubbed by webbing.
What are the MOQ and lead times for custom sliders?
MOQ is 500 units per colourway, samples take 6-10 working days and bulk production runs 35-50 days after approval.
What does AQL 2.5 check on sliders?
Finish conformance, dimensional checks, frame edge quality and a random draw for smooth adjustment under load.
How do I keep sliders off the body?
Derive the strap pad length from the travel range so the frame stays covered across the full adjustment.
Should one range use more than one slider style?
Usually not. Consolidating to one frame improves pricing, shortens approvals and makes the range read as a collection.
Do polymer frames become brittle in cold climates?
They stiffen at low temperatures. If you sell into cold markets, confirm the material grade before launch.
How do I stop a strap slipping through the slider?
Use a double-bar frame, check tape-to-frame tolerance, and consider a radiused flat bar profile for grip.
Talk to QUANZHOU JUNYUAN BAGS about a pet carrier program: MOQ 500 pieces per colourway, samples in 6-10 working days, bulk production in 35-50 days under AQL 2.5 inspection.
Get a free quote Request a sample