Heat Press Printing Method for Custom Pet Carriers
Heat press printing is the most flexible logo method for a custom pet carrier programme, because it needs no screen, no mould and no digitising. A transfer is pressed at 150 to 165 degrees Celsius for 10 to 18 seconds under medium-firm pressure, costs about USD 0.30 to 1.10 per position, holds 8 to 12 stock colours or full CMYK artwork, and survives 30 domestic wash cycles when the substrate and press window are correctly matched.
Executive summary
Heat transfer is the route we reach for when a brand needs small quantities, complex colour, or a design that will change between drops. There is no screen charge and no minimum per artwork, so a 500-piece run and a 40-piece influencer seeding look identical on the press, which is not true of screen printing or embroidery. The trade-offs are hand feel, because every transfer is a film sitting on the fabric, and substrate sensitivity, because coated shells and heat-sensitive liners narrow the usable window.
Commercial terms do not change with the decoration method: MOQ 500 pieces per colourway, samples in 6-10 working days, bulk production 35-50 days after written approval, and AQL 2.5 inspection on every shipment. Our production team qualifies each transfer against the actual production fabric with peel and wash testing at an SGS-verified production base audited to BSCI and ISO 9001, and colour references are checked against the standards maintained by Pantone before artwork is frozen. Press parameters are recorded per fabric so a reorder reproduces the approved result.
Custom pet carrier programmes run at MOQ 500 pieces per colourway, with samples in 6-10 working days and bulk production in 35-50 days under AQL 2.5 inspection.
Where Heat Press Fits Among Logo Methods
Decoration routes divide by what they cost to start and what they cost to run. Embroidery needs a digitised file and charges by the thousand stitches; screen printing needs a screen per colour and rewards volume; a moulded patch needs tooling. Heat transfer needs a print file and nothing else. That single property makes it the default for programs that are still finding their identity, for multi-colour artwork that would be prohibitively expensive in screens, and for any project where the artwork may change between seasons.
It also fits the way small brands actually operate. A launch order of 500 pieces, a reprint of 200, and a collaboration run of 80 can all be produced from the same digital artwork with no set-up penalty, and the per-unit price barely moves between them. Compare that with screen printing, where an eight-colour design at 200 units is economically absurd, and the case for transfer becomes obvious for graphic-led brands.
The honest limits matter just as much. A transfer is a film bonded to the surface, so it has a hand feel that embroidery and sublimation do not, it can crack if it bridges a seam or a fold, and it will not survive on every substrate. On a heavy coated 900D shell it performs very well; on a silicone-treated ripstop or a loose knit it can fail adhesion within a few washes. Knowing which of those two fabrics you have is the first question to answer.
Where a program is large and stable, we often recommend a hybrid: transfers for the first two seasons while the artwork is still moving, then a switch to screen printing once the design is frozen and volumes justify screens. That path protects cash early and reduces unit cost later, and it is worth planning for rather than discovering. A third route deserves a mention for brands that expect to grow quickly: begin with DTF, hold the artwork in vector form, and quote the screen-printing crossover at the 800 and 1,500 unit marks. Knowing that number in advance turns a future decision into a line on a spreadsheet instead of another sampling round.
Transfer Families: HTV, DTF and Screen-Printed Transfers
Three families dominate, and choosing between them is the most consequential decision in the whole method. Heat transfer vinyl, usually called HTV, is a coloured polyurethane film cut to shape and weeded, then pressed. It gives a clean, opaque, slightly rubbery mark in a single colour, is excellent for lettering and simple logos, and is available in perhaps a dozen stock finishes including matte, gloss, metallic and flocked. Its weakness is that each colour is a separate layer, so a six-colour logo becomes six layers, six weeding operations and a thick finished mark.
Direct-to-film, or DTF, prints the full artwork in CMYK plus white onto a release film, powders it with adhesive and presses the whole image in one pass. It handles photographic artwork, gradients and unlimited colour at a single-layer thickness, which makes it the modern default for complex graphics. The trade-offs are a slightly softer surface, a dependence on the white underbase for opacity on dark shells, and a hand feel that is closer to a thin plastisol print than to a cut film.
Screen-printed transfers, sometimes called plastisol transfers, are made by screen printing the design onto release paper and then pressing it. They give the hand and durability of a screen print without requiring the garment or panel to be printed directly, which is useful for awkward shapes and for placing a mark near a seam. They carry a screen charge, so they behave economically like screen printing rather than like digital transfer.
- HTV: single colours, crisp edges, opaque, best for lettering and simple marks
- DTF: unlimited colour, gradients and photography, one pass, white underbase on dark shells
- Plastisol transfer: screen-printed hand, durable, needs screens, good near seams
- Sublimation transfer: only on polyester, no hand feel at all, see the dedicated route
- Silicone transfer: high stretch, premium hand, used on performance panels
For a pet carrier the default recommendation is DTF for graphic artwork and HTV for a one or two colour wordmark. That combination covers most brand needs at the lowest combined cost and avoids the layering problems that make multi-colour HTV look clumsy. Silicone transfers are the specialist answer for carriers built from stretch panels or soft-shell material, where an ordinary film would crack within weeks; they cost more per unit but remove the failure mode entirely, which usually makes them the cheaper choice once returns are counted.
The Press Window: Temperature, Time and Pressure
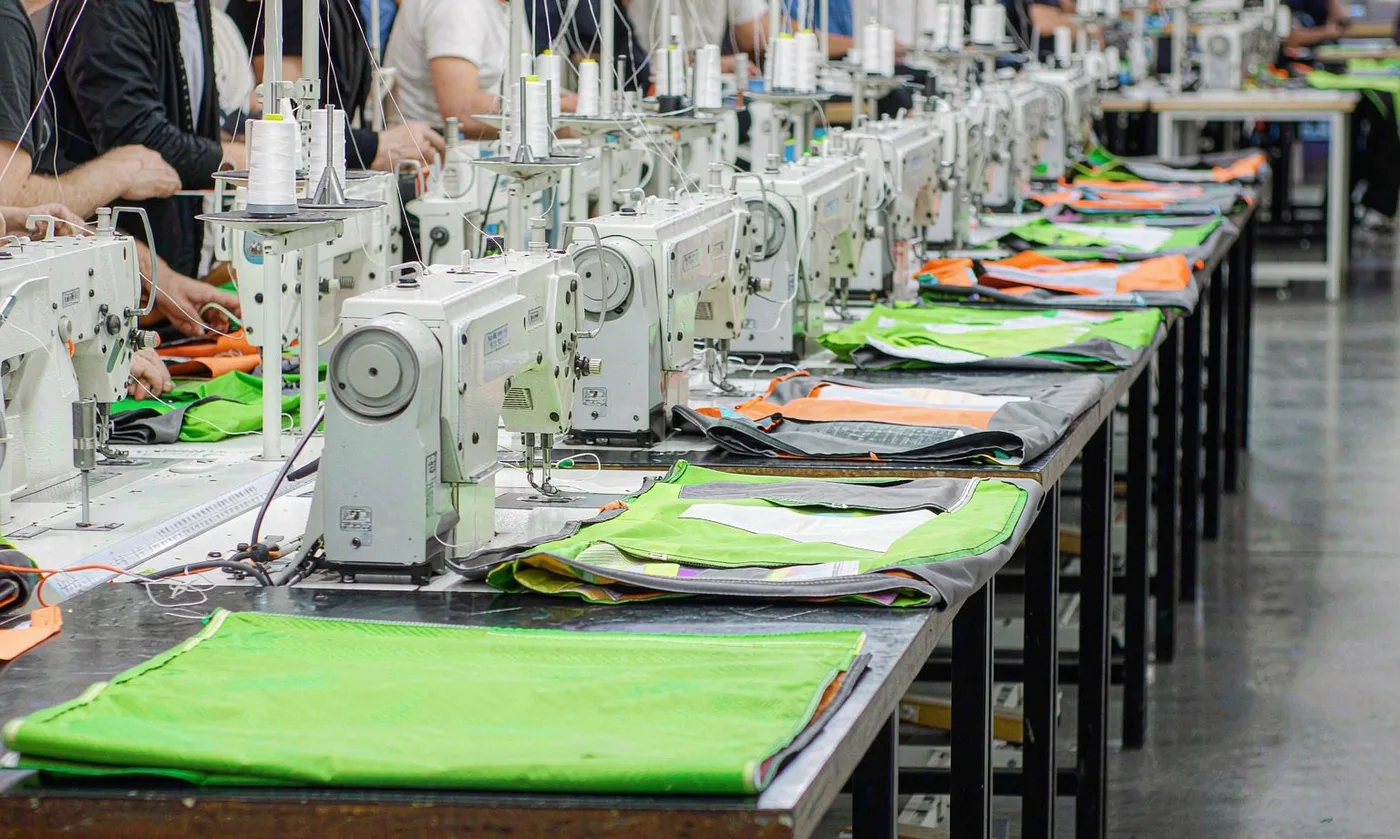
Every transfer has a window, and most defects trace back to leaving it. Temperature is the most sensitive parameter: too low and the adhesive never flows into the fabric, so the mark peels in the first wash; too high and the polyurethane film shrinks, the edges lift, or a coated shell discolours. Most polyurethane transfers run between 150 and 165 degrees Celsius, and the difference between 150 and 165 can be the difference between a mark that lasts three years and one that fails in three weeks.
Time and pressure interact with temperature. Ten to eighteen seconds is the usual band, with heavier shells needing the longer end so heat penetrates the fabric rather than sitting on the surface. Pressure should be firm enough to force the adhesive into the weave, typically medium to firm on a standard press, but excessive pressure squeezes adhesive out of the bond line and thins the film at the edges, which is where lifting starts.
Peel temperature is the parameter most often ignored. Some adhesives need a hot peel, some a cold peel, and using the wrong one either stretches a warm film or locks in stress that later lifts corners. The correct peel condition is printed on the transfer specification and belongs on the production card, not in an operator's memory.
Two process details prevent most field failures. Pre-press the panel for three to five seconds to drive out moisture and flatten the surface, then post-press through a release sheet for five seconds after removing the carrier film, because that second pass is what seats the adhesive into the fabric. Skipping either step is the most common cause of a mark that passes inspection and fails in a customer's washing machine.
Substrate Compatibility and Heat Sensitivity
The fabric decides whether a transfer is viable, and coated technical shells are the difficult case. A PU or PVC coating can soften, glaze or shrink under press heat, and a durable water-repellent finish can block adhesion entirely. The practical test is a press trial on the actual production fabric at three temperatures, followed by a peel test and a visual check for glazing. That trial takes half a day and prevents a season of complaints.
Mesh and spacer fabrics are the second difficult case. The open structure gives the adhesive little to grip, and the heat can collapse the knit locally, leaving a visible ring around the mark. Where a design absolutely needs a mark on a ventilation panel, the better answer is to move it to an adjacent solid panel or to a woven tape applied over the mesh, rather than to press directly onto an open structure.
Liners and padding introduce a different problem: heat travels through the panel and can affect what is behind it. A thin TPU liner will tolerate more than a PEVA one, and a foam backing can compress permanently, leaving a pressed shadow that is visible from the inside. We test with the full panel build-up rather than with the face fabric alone, because a trial on a swatch will not reveal what happens to the foam underneath.
Finally, colour matters. Dark shells absorb heat faster at the surface, so a black panel reaches adhesive temperature quicker than a white one, and a two-tone panel can need different dwell times on each side of the seam. That is a genuine production detail and it is worth a note on the specification card when a design spans two colours.
There is also a storage variable that catches programs out. Absorbed moisture in a fabric turns to steam under the press and blows the adhesive off the surface, which shows up as patchy adhesion that looks like a material defect. Shells stored in a humid warehouse should be pre-pressed longer or conditioned in the press area for a day before decoration, and that single habit removes a whole class of intermittent failures.
Hand Feel, Stretch and Wash Performance
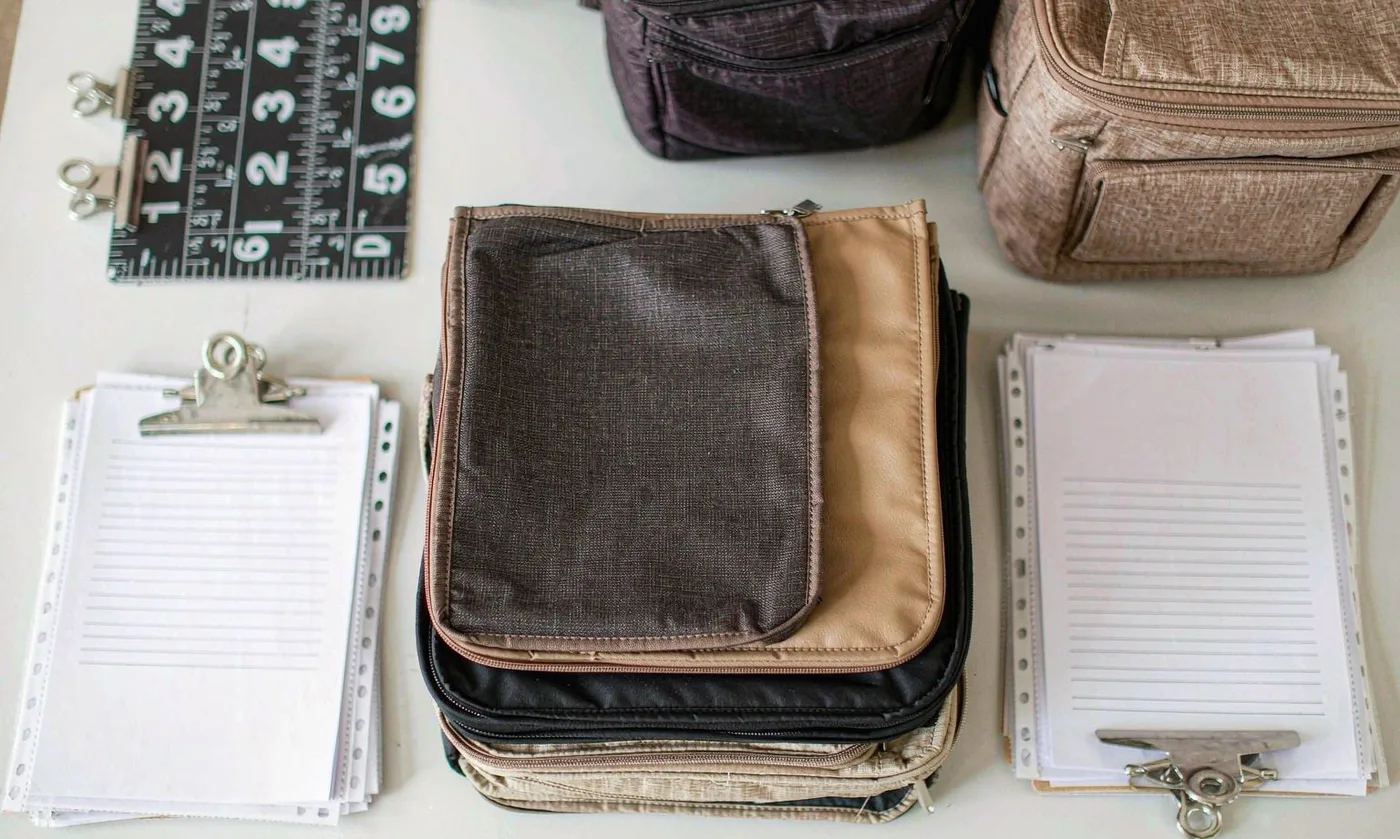
Hand feel is the objection buyers raise most often, and it is fair. A transfer is a film, and a large solid transfer on a soft shell produces a stiff patch that changes how the panel drapes. The mitigation is design rather than material: keep solid coverage below roughly 40 percent of the panel, use halftones or open layouts for larger artwork, and choose a thin film specification where the design allows. A 60-micron film feels noticeably better than a 100-micron one and costs almost the same.
Stretch is the second performance axis. A carrier panel flexes constantly, especially near a zip or a padded handle, and a film with low elongation will crack along the flex line. Polyurethane films stretch well; some PVC films do not; silicone films stretch best and are worth the premium on any panel that will be folded in use. The rule we apply is that no transfer should bridge a seam, a fold line or a quilting channel, because those are the three places where cracking starts.
Wash performance is assessed with the standard accelerated laundering method in the AATCC test library, and we benchmark 30 domestic cycles at 30 degrees with a re-check for edge lift, cracking and colour shift. A correctly specified polyurethane transfer on a compatible shell passes comfortably; the failures almost always trace back to a press window that was set from a datasheet rather than from a trial on the production fabric.
One more durability note applies specifically to pet products. Claws and teeth are abrasion sources that garments never see, so an interior-facing transfer or one placed near an opening will fail early no matter how good the adhesive is. Keep transfers on exterior panels away from the opening, and the wash number becomes meaningful. Where an interior mark is genuinely wanted, the safer execution is a woven label or a stitched motif rather than a film, because both sit into the structure instead of on top of it.
Colour Accuracy and Small-Run Economics
Colour works differently in each transfer family. HTV is a stock-colour process: the film comes in a fixed range of perhaps forty shades, each mapped to a nearest Pantone reference, so an exact corporate match may not exist and the honest answer is often "two shades off". DTF is a CMYK process, so it can reproduce almost any artwork but cannot hit a spot Pantone precisely either, because printing halftones in CMYK gamut is not the same as laying down a solid spot ink.
That distinction should drive the artwork. If brand colour accuracy is the priority, use HTV in the closest stock shade and accept a small deviation, or move to screen printing where spot inks are mixed to the reference. If photographic or gradient artwork is the priority, use DTF and accept that the brand blue will be a reproduction rather than a match. Trying to get both from one process is where disappointment comes from, and both references are checked against the standards maintained by Pantone before artwork freeze.
One practical safeguard helps enormously here: approve a physical proof on the production shell rather than a digital mock-up. Print the artwork at final size, press it, and look at it under the lighting the product will be sold under. A colour that measures two Delta E away from the reference on a screen can look like a different colour entirely under warm retail lighting, and a physical proof settles the question in minutes.
| Route | Set-up cost | Unit cost (USD) | Colour capability | Best run size |
|---|---|---|---|---|
| HTV single colour | None | 0.30 - 0.55 | One stock shade per layer | 50 - 2,000 |
| HTV three colour | None | 0.65 - 1.10 | Three layers, thicker hand | 50 - 1,000 |
| DTF full colour | None | 0.40 - 0.85 | Unlimited, gradients, photos | 50 - 5,000 |
| Plastisol transfer | Screens, USD 25-45 each | 0.35 - 0.70 | Spot Pantone mixing | 500 and above |
| Silicone transfer | None | 0.75 - 1.40 | Spot or process, high stretch | 200 - 3,000 |
The economic headline is that transfer cost per unit is essentially flat with volume, while screen printing cost falls sharply. Below roughly 800 units, or whenever the artwork is likely to change, transfer wins. Above that, with a frozen design, screen printing usually wins. That crossover is worth calculating at quotation rather than assuming.
Program terms are constant: MOQ 500 pieces per colourway, samples in 6-10 working days, bulk 35-50 days, and AQL 2.5 inspection on every shipment.
Placement Design: Making a Transfer Look Designed
A transfer looks cheap when it is placed like a sticker and looks designed when it is placed like part of the structure. The difference is discipline: align the mark to a panel edge, a seam or a pocket line rather than floating it in the middle of a field, and keep a consistent margin from that reference across the whole product family. A 25 millimetre margin from the panel seam, repeated everywhere, is the kind of consistency customers feel without noticing.
Scale should be set by viewing distance. A carrier is seen from two metres on a shelf and from half a metre in the hand, so a mark that reads well at two metres will usually be too large close up. The practical range for a hero logo on a carrier front panel is 70 to 110 millimetres wide; below 50 millimetres it reads as a label, and above 130 it starts to dominate the silhouette.
Combining a transfer with another decoration is where real design happens. A printed wordmark paired with a small stitched icon, or a transfer sitting above a woven label on the same vertical axis, produces a composition rather than a logo slap. The rule is that one element leads: if the print is large, the label should be small and tonal; if the label is the hero, the print should be a supporting line.
Two placements deserve specific advice. Avoid the exact centre of a padded panel, because the fill moves under the press and registration drifts; and avoid placing a transfer where a strap crosses it, because the strap will abrade the film every time the product is carried. Both are visible in a sample and easy to fix before bulk.
Finally, plan the placement system across the range rather than product by product. Define one hero position for the logo, one secondary position for a wordmark or icon, and one fixed position for the woven label, then apply those three rules to every item in the family. A buyer reading a line sheet sees a coherent collection instead of five unrelated products, and the production team stops re-solving the same question on every style.
Sampling, Approval and the Defects to Look For
Approve a transfer on the production fabric, pressed with the production parameters, washed and then inspected. The list below is the checklist we work through, and every item is visible without laboratory equipment.
- Edge definition: no adhesive halo, no lifted corners after cooling
- Peel test: firm resistance when a corner is lifted with tape after 24 hours
- Flex: fold the panel 20 times through the mark with no cracking
- Wash: 30 domestic cycles at 30 degrees, re-checked for lift, crack and colour shift
- Hand: panel still drapes; no boardy feel on large coverage
- Registration: mark aligned to the named panel reference within 2 mm
- Substrate: no glazing, shrink ring or colour change on the shell around the mark
- Padding: no compressed shadow visible from the reverse side
The three defects that appear most often are edge lift, usually a temperature or pressure shortfall; cracking, usually a film bridging a fold or a quilting line; and glazing, usually a press temperature set too high for a coated shell. Each has a single root cause and each is preventable during a half-day press trial.
Once approved, record the transfer specification, film thickness, press temperature, dwell time, pressure setting and peel condition on the production card. Those five numbers are what an inspector checks at AQL 2.5 and what an operator needs in order to reproduce the result six months later. Without them, a transfer program is a craft rather than a process, and craft does not scale.
Used deliberately, heat press is the fastest way to get a designed-looking product to market with no tooling risk. That is why it remains the first route we quote for new private-label programmes.
Order and quality terms
- MOQ 500 pieces per colourway; samples in 6-10 working days
- Bulk production 35-50 days after approval; AQL 2.5 inspection standard
- T/T 30/70 terms, FOB Xiamen, full document set per shipment
People Also Ask
What temperature should a heat press use for pet carrier fabric?
Most polyurethane transfers run at 150 to 165 degrees Celsius for 10 to 18 seconds under medium-firm pressure. The exact setting depends on the coating, so we run a three-temperature press trial on the production fabric rather than trusting a datasheet.
Is heat transfer durable enough for a pet carrier?
Yes on a compatible shell. We benchmark 30 domestic cycles at 30 degrees and check for edge lift, cracking and colour shift, and correctly specified polyurethane films pass comfortably.
What is the difference between HTV and DTF?
HTV is a cut coloured film applied one colour per layer, giving crisp opaque marks ideal for lettering. DTF prints the whole artwork in CMYK with a white underbase onto release film and presses it in one pass, which suits gradients and photographic artwork.
Can heat press printing match a Pantone colour exactly?
HTV comes in stock shades mapped to the nearest Pantone reference, and DTF reproduces in CMYK gamut, so neither guarantees an exact spot match. For a precise corporate colour, screen printing with mixed spot inks is the better route.
Does heat transfer feel stiff on fabric?
A large solid transfer will stiffen a panel. Keep coverage below about 40 percent of the panel, use halftones for larger artwork and specify a thinner film, which improves hand feel at almost no cost.
Can you heat press onto mesh or waterproof fabric?
Mesh is a poor substrate because the open structure gives adhesive little to grip, and water-repellent finishes can block adhesion. We move the mark to an adjacent solid panel or apply it to a tape over the mesh instead.
Is there a minimum order for heat press printing?
The carrier program MOQ is 500 pieces per colourway, but transfers themselves have no artwork minimum, so small seeding runs and reprints can use the same file with no set-up penalty.
Frequently Asked Questions
What is the MOQ for a heat-pressed carrier?
MOQ is 500 pieces per colourway. Because transfers carry no screen or tooling charge, smaller top-up runs and influencer seeding quantities can be produced from the same artwork afterwards.
How long does sampling take?
Sampling runs 6-10 working days, including the press trial on production fabric, a wash test and one round of placement revisions.
What is the bulk lead time?
Bulk production is 35-50 days after written sample approval. Transfers themselves are produced in days, so the critical path is the shell and hardware rather than the decoration.
Which inspection standard is used?
Every shipment is inspected to AQL 2.5, checking edge lift, registration, colour and hand feel against the retained approved sample.
Will the transfer crack where the bag folds?
Not if it is placed correctly. We require that no transfer bridges a seam, a fold line or a quilting channel, and we run a twenty-fold flex test during sampling to confirm.
Can transfers be used on dark shells?
Yes. DTF uses a white underbase to keep the artwork opaque on dark fabric, and HTV films are inherently opaque. The caution is that dark panels absorb heat faster, so dwell time is tuned per colourway.
How do you prevent edge lifting?
By pre-pressing the panel for three to five seconds, pressing within the qualified window, and post-pressing through a release sheet for five seconds after the carrier film is removed. Skipping the post-press is the most common cause of field failure.
Can a transfer be applied near a zip or a seam?
A plastisol transfer can sit closer to a seam than most films because it behaves like a screen print. For HTV and DTF we keep a clearance of at least 10 mm from any seam or zip line.
Do you offer metallic or specialty finishes?
Yes. HTV is available in metallic, gloss, matte, flocked and reflective finishes, and silicone films are available where high stretch is needed on performance panels.
Can artwork change between production runs?
Yes, and that is the main advantage of the method. A digital file can be revised between drops with no tooling cost, which makes heat press ideal while a brand identity is still evolving.
What artwork file do you need?
A vector file with outlined fonts and exact sizing is ideal; a 300 dpi raster with a transparent background also works for DTF. Include placement drawings and the shell colour reference.
Is the print safe for products that pets contact?
Transfers sit on exterior panels away from the opening, and the films we specify are documented for restricted substances as part of the material declaration for the shipment.
How do you keep reorders consistent?
By recording film specification, thickness, temperature, dwell, pressure and peel condition on the production card, and by re-running a press trial whenever the shell fabric lot changes.
When should we switch from transfer to screen printing?
Usually above roughly 800 units with a frozen design. Below that, or whenever artwork is still changing, transfer remains cheaper once set-up costs are counted.
Talk to QUANZHOU JUNYUAN BAGS about a pet carrier program: MOQ 500 pieces per colourway, samples in 6-10 working days, bulk production in 35-50 days under AQL 2.5 inspection.
Get a free quote Request a sample