Leash Clip: Leash Attachment Points in Branded Pet Carrier Design
A leash attachment point in a custom pet carrier is a tether system - typically a 16-20 mm webbing strap terminating in a metal trigger or carabiner clip - anchored into a load path and rated so it restrains rather than merely suggests restraint. It is specified by break strength, anchor geometry and reach length, and adds USD 0.75-2.40 per unit at MOQ 500.
Containment is the one product expectation nobody negotiates, and the leash attachment point is where it is either engineered or assumed. Treated as engineering, it becomes a defensible specification with a test number behind it; treated as assumption, it becomes the component most likely to be named in a complaint, usually after an event that nobody involved wants to recount. Our design team specifies this feature against three questions - what load, along which path, and for how many cycles - because those three questions are precisely what a specialist buyer will ask before agreeing to place the product on shelf at all.
- Sampling: tether assemblies built into nominated shells in 6-10 working days with pull test results attached.
- Minimums: MOQ 500 units; custom logo hardware carries a mould and plating setup charge.
- Schedule: reinforcement webbing and clip assembly run inside the carrier's 35-50 day bulk production.
- Quality: load testing, coating adhesion and stitch integrity inspected to AQL 2.5.
- Terms: T/T 30/70, FOB Xiamen, hardware individually bagged to prevent finish damage in transit.
A custom pet travel bag has to reconcile two limits at once: the airline under-seat envelope and the ventilation the animal actually needs.
Containment hardware is a product promise, not a trim detail
An owner reading a product page assumes the carrier will hold their animal. Almost nothing else in the specification is assumed so completely, and almost nothing else is so often specified by convention rather than by calculation. The leash attachment point sits at the centre of that gap.
It is worth being precise about what the component does. It does not carry the animal's weight, and it should never be described as a crash protection or restraint system for vehicles. It prevents the animal from exiting the carrier when the opening is in use, which is the moment when exit is most likely and the handler least able to react. Defining the job narrowly makes it specifiable.
Once the job is defined, load follows. A twenty kilogram dog making a sudden lunge generates considerably more than twenty kilograms of force at the anchor for a fraction of a second, which is why static break strength is the wrong single number to optimise. Dynamic behaviour, cycle count and anchor compliance matter as much, and they are rarely discussed at briefing stage.
There is a commercial dimension too. Retailers who stock pet containment products have usually had one bad experience, often involving a competitor's product and a very public complaint. Arriving with a documented specification and test evidence shortens their due diligence considerably and occasionally wins listings that were otherwise closed.
From a design perspective, this is also the component that most rewards early cross-functional work. Whoever specifies the clip must agree with whoever specifies the shell fabric, because the anchor's performance depends entirely on what it is sewn into.
It is equally worth deciding what the product copy will claim. "Secures your pet during loading and unloading" is achievable, honest and useful. Absolute claims about safety invite scrutiny the product cannot survive, and they tend to appear in exactly the documents that get reviewed.
One further distinction deserves a line in the brief: whether the product is aimed at contained animals generally or specifically at anxious or reactive ones. Anxious animals load a tether differently, pulling in short repeated bursts rather than one long surge, and the specification that survives the second pattern is not always the one that survives the first.
Finally, remember that this component is invisible in most product photography and central to most product returns. That asymmetry is the reason to invest disproportionate specification effort here rather than somewhere more photogenic.
Leash clip, harness clip or collar clip: choosing honestly
Three similar-sounding features solve three different problems, and conflating them produces specifications that satisfy nobody. The leash attachment point, the one under discussion, is a tether that holds an animal near or inside the carrier while the handler manages the opening. It is generally longer, anchored centrally, and rated for intermittent load.
A harness attachment point is designed to interface with a harness worn by the animal, usually at two points for stability, and it carries continuous rather than intermittent load. Specifying it requires decisions about harness geometry that belong to whoever supplies the harness.
A collar attachment point is the lightest of the three and the most constrained, because loading the neck is undesirable except under direct handler control. We mention it here mainly to say that programmes selling travel-focused ranges should think carefully before offering it, since the use case is narrow and the misuse case is uncomfortable to defend.
The practical approach is to pick the one matching your customer's actual sequence. If the dominant moment is loading at home, the leash attachment point alone is sufficient. If the product is positioned for transit hubs and veterinary waiting rooms, a dual-point arrangement tethered at the harness makes more sense, and it is specified quite differently in terms of both hardware and reinforcement.
Cost is the honest constraint in most of these conversations, and it is worth stating the trade plainly. Doubling rated hardware strength typically adds less than USD 1.00 per unit, while a single well-publicised containment failure costs considerably more than the entire bill of materials saved across a season.
Mixed provision is possible and often sensible: one tether point plus a clearly marked secondary loop, each with its stated purpose printed on the hangtag. Ambiguity, rather than redundancy, is what causes misuse.
Where a programme spans both, standardise the hardware family so purchasing consolidates. One clip body in two finishes costs less than two clip bodies, and consistency reduces both tooling and confusion at the point of sale.
None of this requires new invention. It requires writing down what the component is for, which almost no range does.
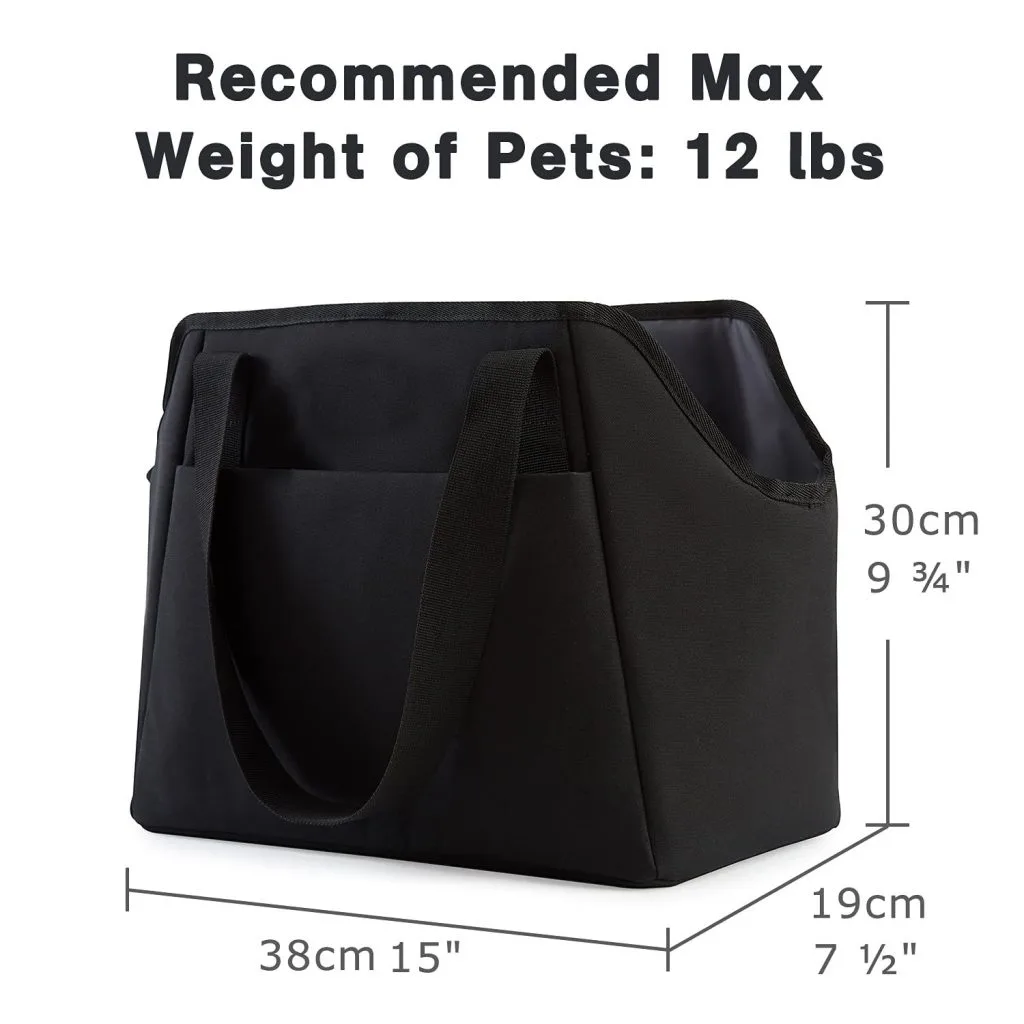
Hardware specification: gates, plating and break strength
Clip selection looks simple from a catalogue and is anything but. Four variables determine whether the chosen hardware performs for the life of the product: gate type, base metal, plating and rated strength.
Gate type first. Spring-loaded trigger gates are familiar, cheap and easy to operate one-handed, which suits most consumer programmes. Screw gates are slower and more secure, appropriate where the attachment is intended to remain closed for a whole journey. Magnetic closures are elegant but should be avoided here, since their failure mode is silent and their holding force is limited.
Base metal determines long-term behaviour. Zinc alloy is the most common because it casts complex shapes cheaply, but it is brittle compared with steel and can fail without warning if the casting contains voids. Stainless steel costs more and weighs more, yet it behaves predictably and resists corrosion in coastal and wet markets, which is where most longevity complaints originate.
Plating is where presentation meets durability. Nickel and chrome finishes look bright and modern; black nickel and gunmetal suit technical ranges but show wear at contact edges faster than expected. Whichever is chosen, specify coating adhesion testing so the finish survives damp hands and a season of use.
| Hardware option | Gate | Typical working load | Durability note | Added unit cost |
|---|---|---|---|---|
| Zinc alloy trigger clip | Spring gate | 120-180 kg static | Brittle if cast poorly; check batch testing | USD 0.35-0.70 |
| Stainless steel trigger clip | Spring gate | 200-300 kg static | Best corrosion behaviour in wet markets | USD 0.90-1.60 |
| Screw gate carabiner | Screw sleeve | 250-400 kg static | Slowest to operate, most resistant to opening under load | USD 1.30-2.20 |
| Twist-lock branded clip | Twist and lock | 150-250 kg static | Custom tooling, strongest brand expression | USD 1.60-2.40 plus tool |
Rated strength should be stated as a range with the test method named, not as a single impressive figure. Any number without a method behind it is marketing, and buyers who have been burned will ask which standard was used. We verify against published ASTM standard test methods and report the actual cycle and load conditions so the figure survives questioning.
Spare parts are worth a short discussion with whoever plans after-sales. Tethers are among the small number of components that get lost, chewed or damaged in service, and being able to ship a replacement assembly rather than a replacement carrier changes both the cost and the tone of that conversation considerably.
One more note: order hardware with 2-3 percent spare. Nothing derails a shipment faster than discovering during final assembly that twelve units have a cosmetic defect and no replacements exist.
Anchoring: webbing, reinforcement and the load path question
Hardware performance is irrelevant if the strap attached to it fails first, and in our experience that is exactly what happens. The tether should therefore be specified as a complete assembly from clip to anchor.
Webbing width and material come first. A 16-20 mm polyester webbing covers almost all consumer programmes; heavier animals and professional ranges justify 25 mm. Polyester is preferred over polypropylene for UV resistance and dimensional stability, and it should be purchased from the same dye lot as other visible webbing so nothing mismatches in daylight.
The anchor is where specification either works or fails. A tether terminating in face fabric will tear it, often spectacularly and sometimes after months of apparently normal use. The correct practice is continuing the reinforcement webbing into a structural seam or around the base panel so load is distributed rather than concentrated, the same principle used for handle roots.
Stitch pattern deserves explicit detail in the tech pack. A box stitch with an inner cross, bar-tacked at each corner, spreads load across four directions and tolerates one broken thread without unravelling. Single-run straight stitching concentrates stress at its ends and should never be used here.
Corner geometry at the anchor matters more than most drawings acknowledge. A reinforcement patch with square corners concentrates stress exactly where the load arrives, while radiused corners distribute it and cost nothing to specify, so always draw the radius.
Cycle testing is more predictive than static testing for this assembly, because of how the load arrives: repeatedly, at varying angles, usually when the handler least expects it. We recommend a defined number of working-load cycles followed by visual inspection for stitch migration and webbing distortion.
Webbing edges deserve more attention than they usually receive. Singeing and heat-cutting prevent fraying but leave a hard edge that rubs against fur and eventually against the handler's hand, while a folded and bound end is softer and costs slightly more labour.
Finally, decide whether the tether is removable. Fixed tethers are simpler and cannot be lost; detachable ones allow laundering and replacement. Both work, but the decision changes both the anchor specification and the after-sales proposition, so it belongs early rather than at the first cost review.
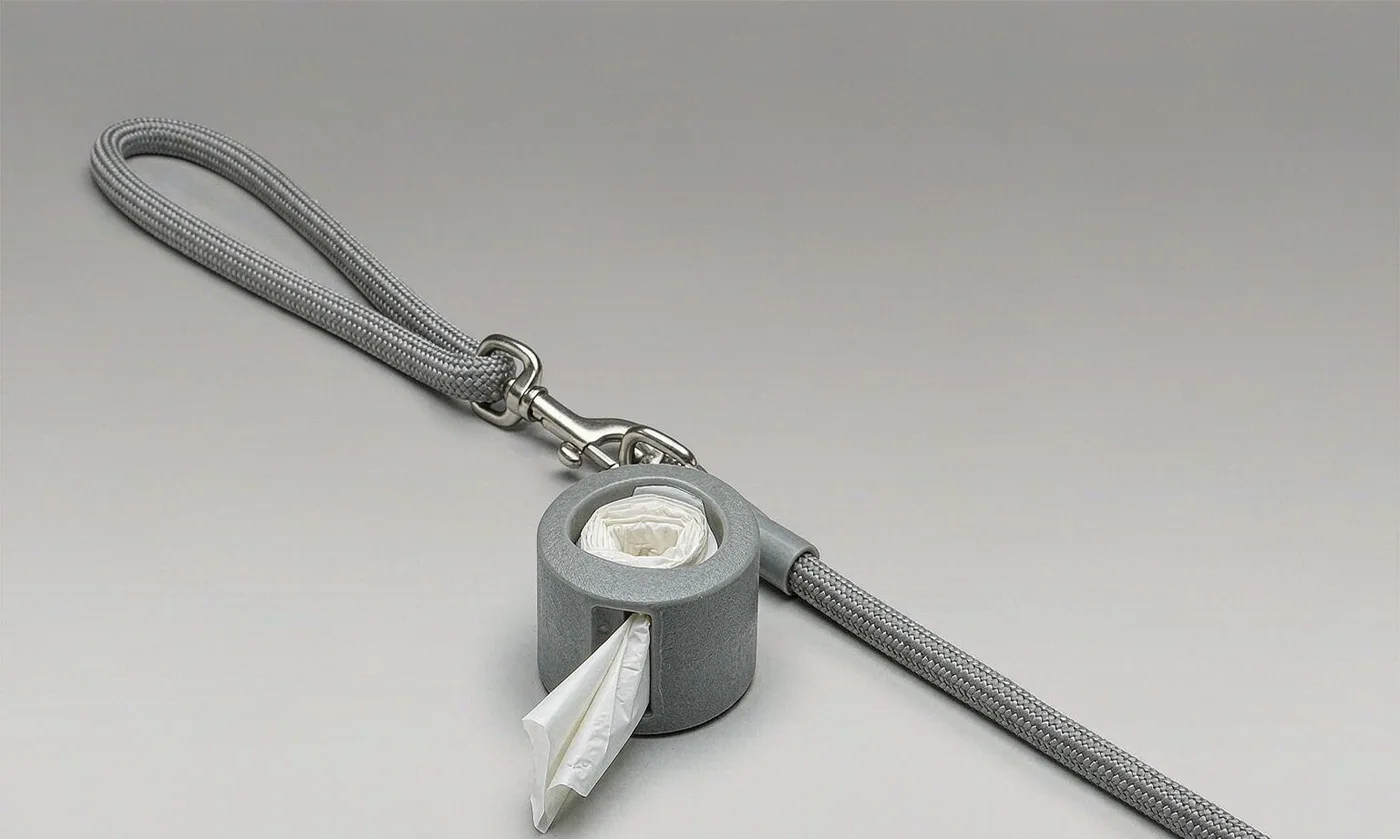
Where the attachment sits inside the chamber
Placement determines function more than any hardware choice, and it is the decision most often made by copying a competitor rather than by working through the use case.
Start with the moment that matters: the carrier is open, the animal is interested in exiting, and the handler has one hand occupied. The tether should be positioned so the handler can reach it while managing the opening, which in practice means near the top rear corner of the chamber rather than at the base.
Reach length then becomes the governing dimension. Too short and the animal cannot sit comfortably, which produces constant load on the anchor and visible distress; too long and it can reach the opening or become entangled. Working to a stated internal dimension rather than a strap measurement is more reliable, because animals differ and chambers differ.
Decide early whether the attachment should be visible or concealed when the carrier is open. Visible tethers photograph as safety features and read as reassurance in store; concealed ones keep the opening clean and are preferred by programmes competing on lifestyle imagery. Both are legitimate, but they lead to very different anchor positions.
Entanglement is the serious risk and has to be designed out rather than warned about. Fixed-length tethers kept well below the animal's body length, positioned high, and free of loops that can enlarge under load eliminate most of it. Adjustable length should be offered only where the adjustment cannot slip.
Consider contact with other interior features too. A tether reaching the water bottle pocket in whichever model you market alongside it, or crossing a ventilation panel, creates wear points that nobody designed and everybody notices later.
Check height against the animal rather than against the chamber alone. A tether anchored high enough to be convenient for a large dog can sit uncomfortably close to the neck of a small one, so wherever a programme spans several sizes the anchor position should be specified per size rather than scaled from the largest.
Accessibility for cleaning is last and least glamorous. Whatever the animal touches will eventually need wiping, so the tether and its anchor should be reachable with a cloth. A tether buried behind non-removable lining is a poor specification regardless of how strong it is.
Documentation, testing and what a specialist buyer asks for
Specialist channels ask three things about containment hardware, and being ready with answers shortens the sales cycle more than any piece of marketing collateral.
The first is evidence of testing. A report naming the load, the method, the cycle count and the sample size is far more persuasive than an impressive number on a specification sheet. Where clients need third-party verification we arrange it through accredited laboratories, and the resulting document belongs to the client rather than to us.
The second is chemical compliance for metal components, since hardware sits in contact with animals and handlers. Screening plating and base metal against the European chemicals register is standard, and Nickel release testing is worth adding for anything plated in bright finishes.
The third is accident narrative: what happens when something goes wrong, and how quickly the handler can release the animal. A tether that can be operated under load, or detached instantly at the anchor, is easier to defend than one requiring two hands and good lighting.
Industry thinking on restraint systems is also worth following, because expectations rise year on year. Programmes referenced against independent work such as that published by the Center for Pet Safety tend to age better than those written to whichever requirement was current when the range launched.
Serial-level traceability is a reasonable expectation now rather than a luxury. Being able to identify which hardware batch went into which production run turns a potential recall into a targeted enquiry, and most established retailers will ask whether it is possible before they commit.
Finally, keep a single controlled document that holds the clip specification, the webbing reference, the anchor drawing and the test report together. When the buyer's technical team asks for "the file," having one means the answer arrives the same day.
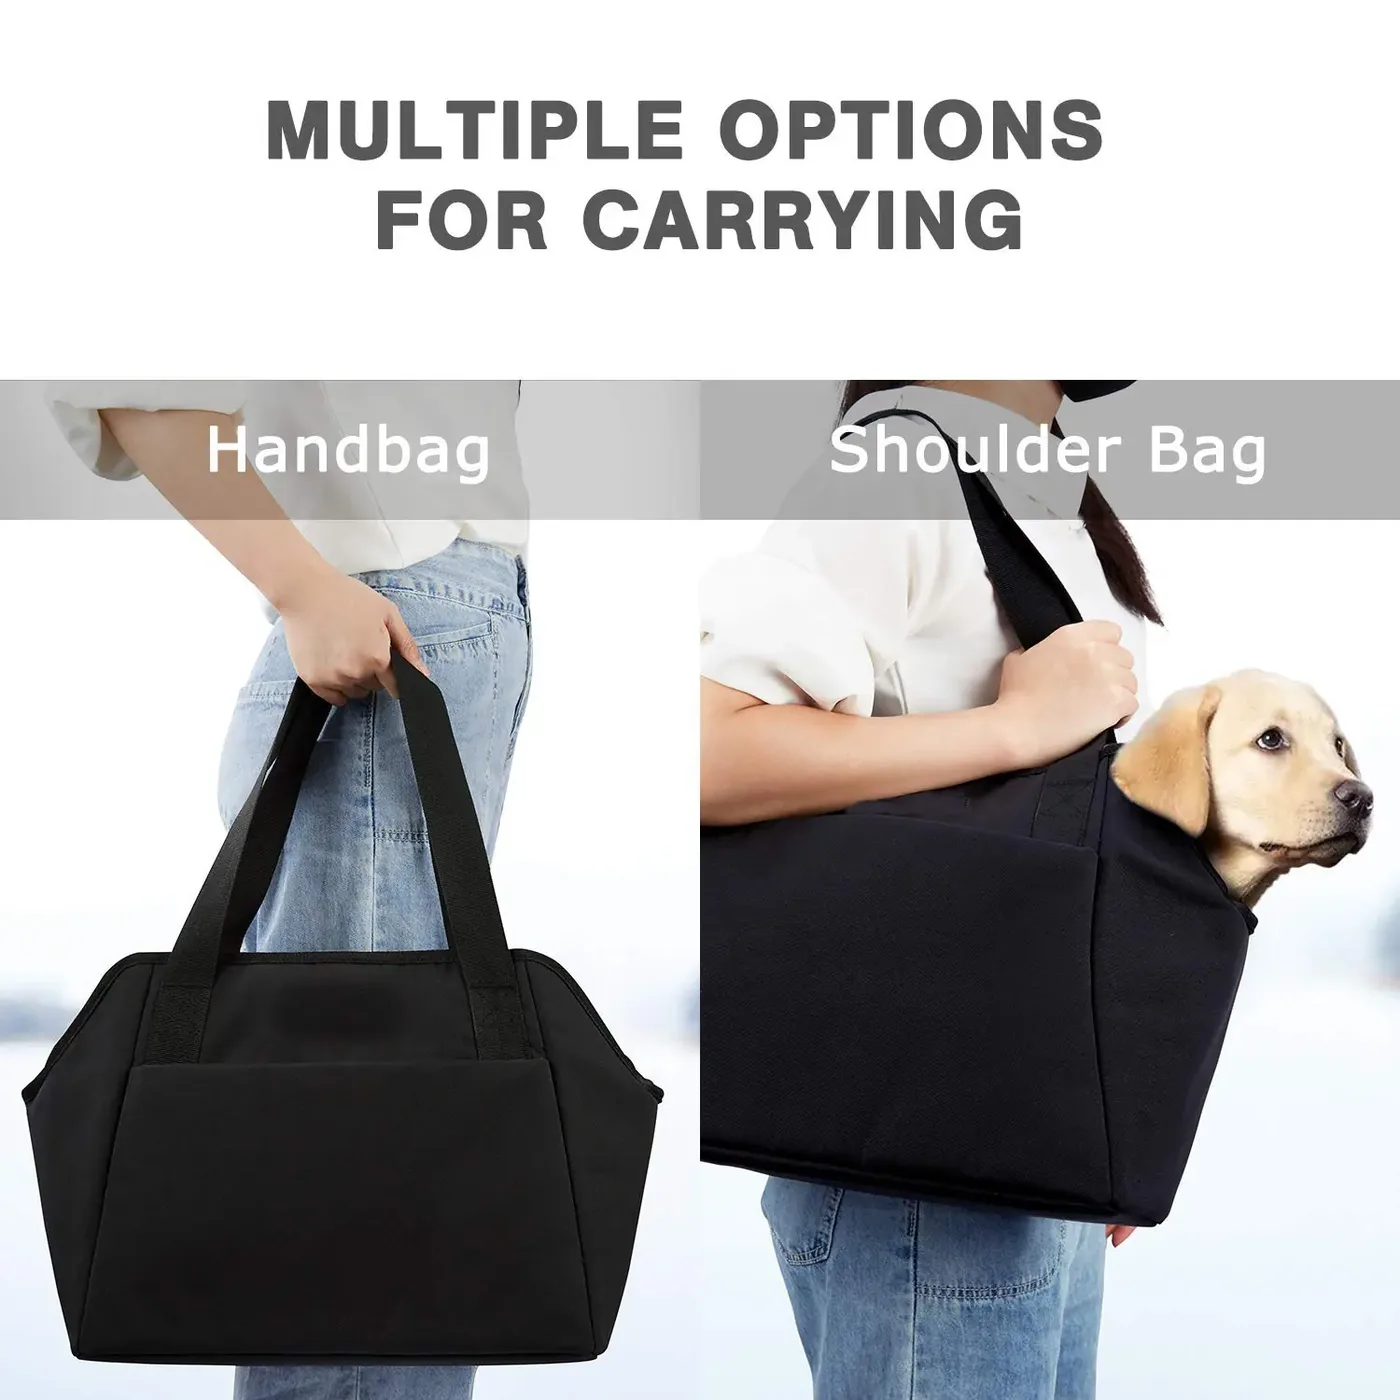
Branding the clip without weakening the specification
Hardware is the most satisfying branding opportunity in the whole product, because it is metal, it is handled constantly, and it looks expensive even at modest cost. It is also the easiest place to damage a good specification in pursuit of appearance.
The safest approach keeps the logo on non-critical surfaces. A laser-etched or stamped mark on the flat face of a clip body changes nothing structurally, reads clearly in macro photography, and survives handling for years. Embossing on the strap's webbing likewise, which works well for wordmark repeats along the tether.
Custom-shaped clip bodies are the most expressive option and the most expensive, requiring mould tooling. Because the tooling cost is meaningful, it should be reserved for programmes with a genuine multi-season plan, and the shape should be reviewed for stress concentration rather than approved on looks alone.
Coloured hardware is worth discussing candidly. Anodised aluminium and PVD finishes achieve reliable colour; painted finishes do not, particularly at the contact edges where a clip meets a D-ring several times a day. Where colour is important, specify coated metal rather than painted base metal.
Co-branding deserves a mention here because hardware is one of the few places it does not look derivative. A joint logo etched into a clip reads as a genuine collaboration rather than as sticker placement, which is why both parties tend to accept lower royalty terms when the mark is engineered rather than printed.
Tether webbing is an underused brand surface. A jacquard-woven wordmark running along the strap costs little at MOQ 500, adds almost nothing to lead time, and appears in every interior photograph of the product ever taken.
Pack the story as carefully as the component. A single sentence on the hangtag explaining what the tether is rated for, what it is not rated for, and how to release it quickly answers three questions a buyer was going to ask anyway, and answers them better than a customer service queue will later.
Keep one discipline throughout: no branding modification may reduce the rated strength of the component. Anything else is a trade the product cannot afford.
Cost, sampling behaviour and inspection
Unit cost divides into hardware, webbing, anchor labour and testing amortisation. Zinc alloy trigger clips dominate the entry point at USD 0.35-0.70 for the clip alone; complete tether assemblies with branded labelling typically land between USD 0.75 and 2.40 installed, depending on metal and anchor complexity.
The largest cost surprises in this component arrive from two places. First, late changes to rated strength: specifying a higher load after the anchor is tooled means re-sampling and often re-working the reinforcement pattern. Second, splitting across too many finishes, which multiplies both minimum purchase quantities and the chance of a shortfall at final assembly.
Sampling should always include testing. Our production team builds complete tether assemblies into nominated shells within 6-10 working days and supplies pull results with the samples, so approval is based on behaviour rather than appearance. One practical recommendation: have whoever assembles the final product operate the clip twenty times with gloves on, because that is closer to real conditions than a desk review.
Inspection criteria accepted to AQL 2.5 should cover the presence and position of every bar-tack, absence of skipped stitches in the box-and-cross pattern, tether length within plus or minus 5 mm, coating adhesion checked by tape test on a sample basis, and full gate operation under load. Where the programme sells into specialist channels, adding a periodic destructive pull test on random units is a low-cost way to catch drift.
Specify the packaging position for the clip at the same time as everything else. A clip left loose inside the chamber during transit marks the lining and occasionally the shell, while one secured in a small card sleeve costs cents and arrives looking deliberate rather than incidental.
Bulk follows the standard programme: MOQ 500 units, 35-50 days from approved sample, T/T 30/70 terms and FOB Xiamen shipment, with each clip individually bagged so finishes arrive unmarked rather than scuffed from contact during transit.
Why brands source here
- Pet carrier programs run since 2014; founding team in sewn goods since 2004
- SGS-verified production floor of 4,950 m² with 137 workers across 7 lines
- Monthly capacity of 200,000 units, audited to BSCI and ISO 9001
People Also Ask
Why does every carrier need an interior tether?
Because the highest-risk moment is when the opening is in use. The handler is occupied and the animal is motivated, which is precisely when containment has to be engineered rather than assumed.
How is a leash clip different from a harness clip?
A leash tether handles intermittent load from contained animals near the carrier; a harness interface carries continuous load through the animal's own harness and belongs to the harness specification.
What makes tether anchors fail?
Terminating in face fabric rather than a load path, single-run stitching instead of box-and-cross with bar-tacks, and specifying static strength while ignoring repeated angled loading.
Should the clip be metal or plastic?
Metal for anything rated. Plastic hardware can be appropriate for light decorative loops, but its failure mode under dynamic load makes it unsuitable for containment.
Can we use our own branded clip shape?
Yes with tooling, ideally across several seasons. The shape must be reviewed for stress concentration, not approved on appearance alone.
Does hardware colour affect durability?
Substantially. Anodised and PVD finishes hold colour well; painted finishes abrade quickly at contact edges where the clip meets a D-ring during daily use.
Frequently Asked Questions
What is a leash attachment point in a pet carrier?
It is a tether system - usually 16-20 mm polyester webbing ending in a trigger or carabiner clip - anchored into a structural seam and rated by load, cycle count and reach length, used to keep the animal contained while the handler manages the opening.
Is it a vehicle crash restraint?
No. It is specified for containment during loading, unloading and supervised stationary use, and should never be described as crash protection. Vehicle restraint requirements are a separate topic covered by the seatbelt strap feature.
Which clip material lasts longest?
Stainless steel, particularly in coastal or wet markets, because it resists corrosion and behaves predictably under load. Zinc alloy is cheaper and casts complex shapes, but it is more brittle and requires batch-level confidence in casting quality.
How strong should the tether be?
Stronger in relation to dynamic load than static weight. Rate the assembly for repeated working loads at varying angles, name the test method, and verify to a defined cycle count rather than quoting a single static figure.
Can the tether carry our logo?
Yes. Laser-etched marks on flat clip faces and jacquard-woven wordmarks along the webbing are both durable and low cost. Any branding change that reduces rated strength should be rejected.
Where should the tether anchor be placed?
Near the top rear corner of the chamber, continuing into a structural seam or around the base panel so load is distributed, rather than terminating in unsupported face fabric.
How long should the tether be?
Specify by internal chamber reach rather than strap measurement: long enough for the animal to sit comfortably, short enough that it cannot reach the opening or create an entanglement loop.
Should the tether be detachable?
Both approaches work. Fixed tethers cannot be lost; detachable ones allow laundering and replacement. The decision affects both the anchor specification and the after-sales proposition, so settle it before costing.
What is the MOQ?
MOQ 500 units. Concentrating all finishes on one clip body helps meet minimums and reduces the risk of shortfall during final assembly.
How long does sampling take?
Complete tether assemblies built into nominated shells are delivered in 6-10 working days, accompanied by pull results rather than appearance-only approval.
Do we need chemical testing on metal parts?
Yes where plated finishes are used. Screen base metal and plating against restricted substance lists, and consider nickel release testing for bright finishes that sit against skin or fur for long periods.
How is the tether inspected in bulk?
Bar-tack presence and position, skipped stitches, tether length within plus or minus 5 mm, coating adhesion by tape test and full gate operation under load, all accepted to AQL 2.5.
Talk to QUANZHOU JUNYUAN BAGS about a pet carrier program: MOQ 500 pieces per colourway, samples in 6-10 working days, bulk production in 35-50 days under AQL 2.5 inspection.
Get a free quote Request a sample