Custom Can Opener: Pet Food
A custom pet food can opener is specified as a stainless cutting head with a moulded or overmoulded handle, finished in a brushed, polished or anodised surface, at MOQ 500 units per finish. The decisions that define it are the cutting mechanism, the handle grip material and the logo method. Laser marking on metal is permanent, needs no tooling, and is the default choice for a branded opener.
A can opener is a hardware product, and hardware programmes are governed by finish and feel rather than by shape. Our standard envelope is MOQ 500 units per finish, samples in 6-10 working days, bulk production in 35-50 days after sample approval, and inspection at AQL 2.5 with a defect list covering edge quality, mechanism smoothness and marking alignment. Payment is T/T 30/70, FOB Xiamen.
Because the mechanism is usually adapted from an existing open tool rather than designed from scratch, development cost stays low and the brand budget goes where it shows: the finish, the grip, the logo mark and the box. That is an unusual and welcome inversion. It means a modest programme can produce an object that feels genuinely premium, provided the brief concentrates on surface and presentation instead of on inventing a new mechanism. Plan the artwork and the packaging in parallel with sampling, because neither depends on the mechanism being finalised, and both are what the customer actually judges.
Two specifications should be fixed in the first week because they constrain everything else. The steel grade determines whether the tool can honestly be called dishwasher safe, and the handle substrate determines which logo method is available. Set both before sampling starts and the rest of the brief resolves quickly; leave them open and every later decision becomes provisional.
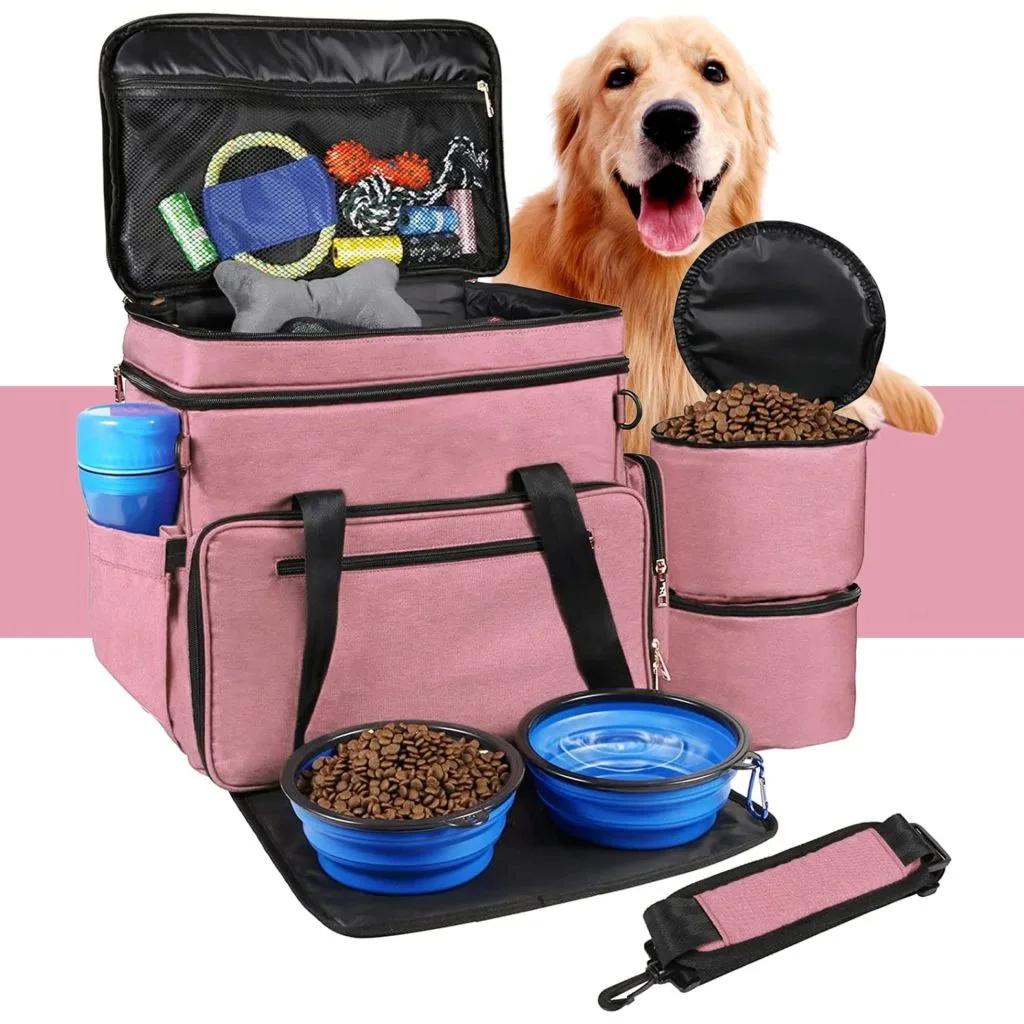
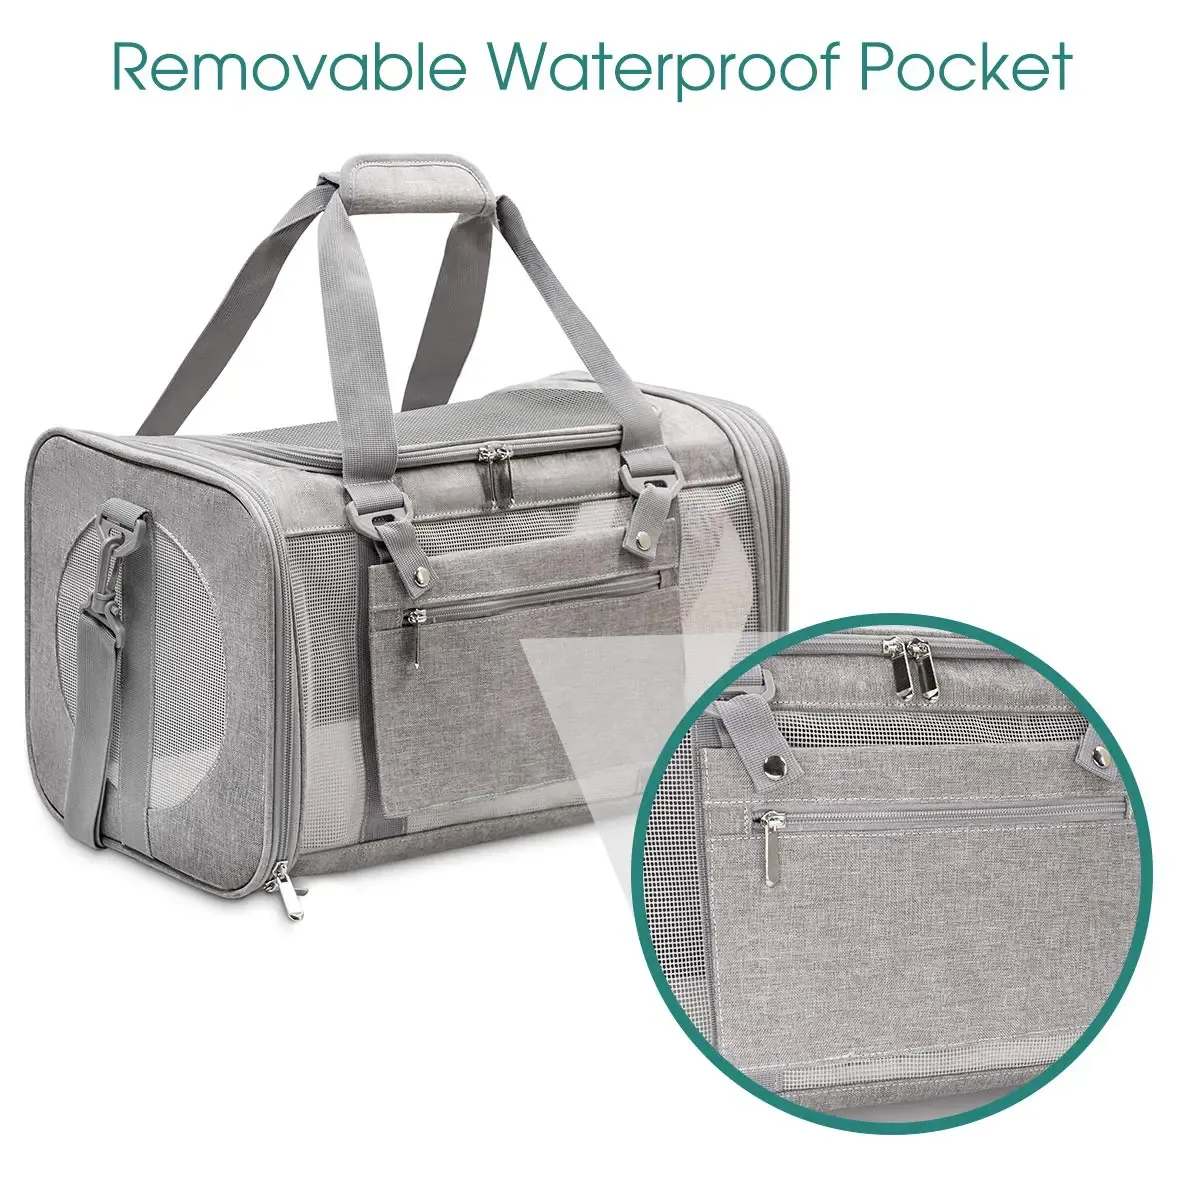
Custom pet bag orders are quoted by unit and by filled container, because carton cubage decides the landed cost more often than the fabric does.
The Can Opener as a Brand Touchpoint in a Feeding Range
A can opener occupies an unusual position in a pet range. It is bought for the owner rather than for the animal, it lives in a kitchen drawer or on a counter, and it is used several times a week for years. Very few pet SKUs have that combination of high frequency and long service life, and none of the soft goods in the range come close. For a brand thinking about daily visibility, that makes the opener one of the most efficient pieces of real estate available.
It also carries a particular trust burden. Wet food is served straight from a can, and the opener is the tool that stands between the pet and a sharp lid. A product that leaves a jagged edge, or that slips mid-cut, is remembered far more vividly than a product that merely works. This is why the opener should be engineered and presented as a piece of kitchen hardware rather than as a pet accessory, and why quality decisions here pay back disproportionately in reviews.
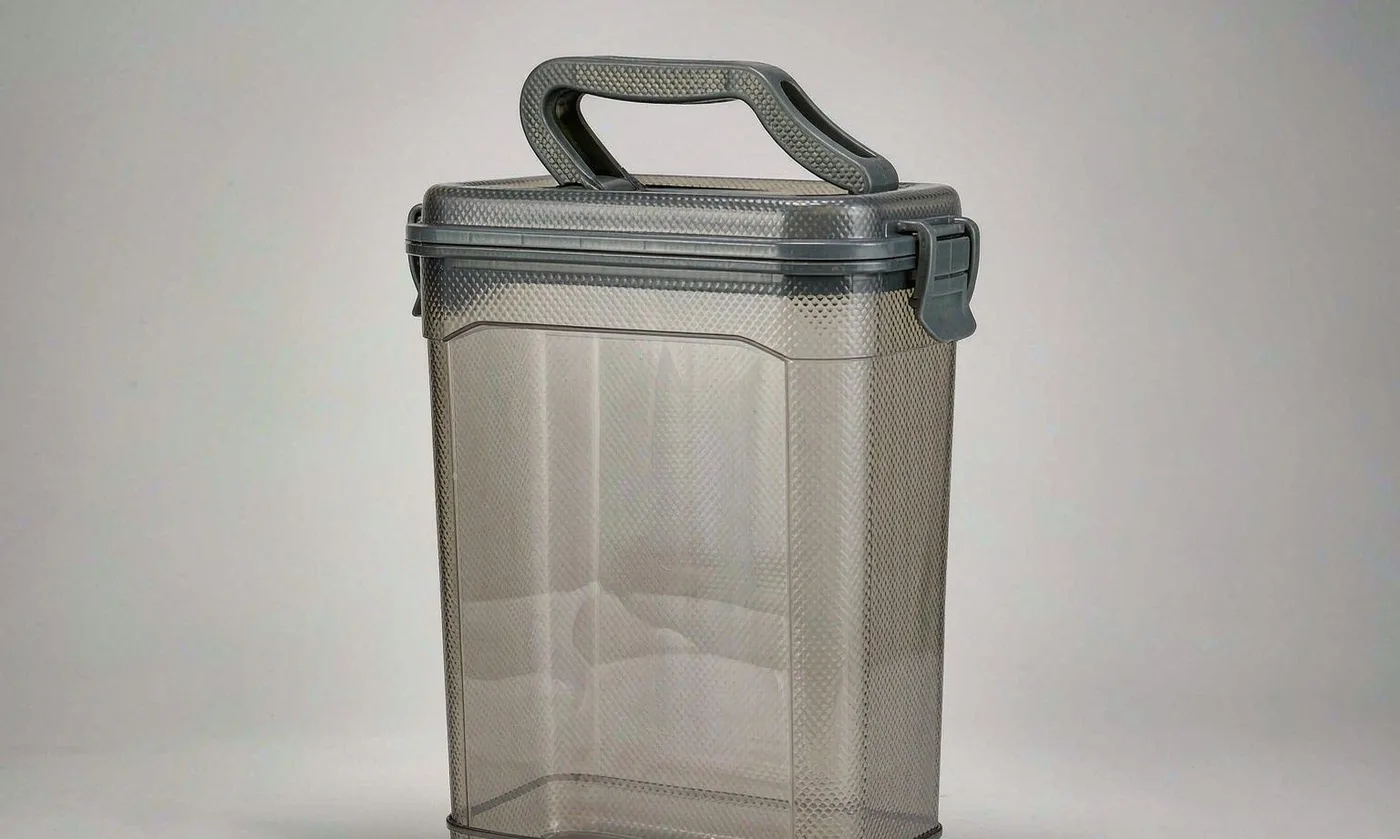
Strategically, the opener is the anchor of a wet-feeding capsule. It pairs naturally with a measuring scoop for dry food, a storage bin and a bowl, and the four together tell a complete feeding story. Retailers are far more willing to give space to a coherent feeding block than to a single accessory, and the opener is the item that makes the block look considered.
The gifting angle is strong and specific. A well-boxed opener is one of the few pet products that a non-pet-owner would happily give as a housewarming or a new-puppy present, because it reads as a kitchen tool. Designing for that buyer - neutral palette, restrained branding, a box that needs no wrapping - opens a channel that most pet ranges never reach.
The risk in this category is cheapening. Because the mechanism is largely standardised, the temptation is to compete on price and let the product become a commodity. The profitable alternative is to compete on finish and presentation, where a few dollars of anodising, grip material and box print converts a generic tool into a branded object with a defensible margin.
Mechanism and Engineering: What Actually Matters
Almost every pet food can opener uses one of two mechanisms, and choosing between them is the first real engineering decision. A rotary or side-cutting opener clamps the can rim and rolls a cutting wheel around it, severing the side wall rather than the top. A lever or top-cutting opener pierces the lid and cuts around the inside of the rim. Both are mature, well-understood designs, and neither needs to be invented.
The side-cutting mechanism is the better choice for a premium pet product. It leaves no sharp inner edge on the lid, the lid lifts off cleanly, and the cut is smooth enough that the lid can be placed back on the can for short-term storage. It is also quieter and requires less hand strength, which matters for a buyer demographic that skews older than most pet categories.
The top-cutting mechanism is cheaper and more compact, and it has one advantage: the lid is cut from the inside, so the opened can has a smooth outer rim. Its disadvantage is that the removed lid has a sharp underside, and the cutting wheel dulls faster because it works against a harder geometry.
- Cutting wheel: hardened stainless steel, replaceable or permanently riveted; a riveted wheel is fine at this price band if the steel grade is specified.
- Clamp or jaw: the part that grips the rim; should be tested on both standard and easy-open can rims, which differ in height.
- Gearing: a geared drive reduces the force needed per turn and is the single biggest comfort upgrade available.
- Lid release: a magnetic or mechanical lid lifter keeps hands away from the edge and is a genuinely premium feature.
One specification is routinely omitted and routinely regretted: the range of can sizes the tool must handle. Pet food cans are not standard, and a jaw tuned to a 400 g can will often slip on a tall 800 g format. Nominal three rim types in the brief - a standard food can, an easy-open rim and a tall format - and require the sample to open all three cleanly before approval.
Two specifications protect the product in service. Corrosion resistance of the cutting assembly should be stated as a grade rather than implied by the word stainless, because several common grades will rust in a dishwasher. And the mechanism should be cycle-tested - typically several hundred opens - with a written criterion for when the wheel is considered dull, since a wheel that dulls at fifty cans generates returns that dwarf any saving on the steel.
Metal Finishes and Colour Systems
Finish is where a commodity opener becomes a branded object, and stainless steel offers more options than most briefs exploit. A brushed or satin finish is the safest premium choice: it reads professional, it hides fingerprints and handling marks, and it suits a kitchen environment. A mirror polish reads luxurious out of the box and shows every mark within a week. A bead-blasted matte finish reads technical and modern and is the most forgiving of all in daily use.
Colour on metal comes from three routes. Anodising works on aluminium components and produces a hard, integral coloured oxide layer in a wide palette - durable, precise, and genuinely premium. Physical vapour deposition gives a metallic coating in golds, gunmetals and bronzes on steel, at higher cost and with excellent wear resistance. Powder or liquid coating gives full colour freedom on any handle or cover component and is the cheapest route, but it can chip at edges.
Specify colour against Pantone references and approve a physical sample of the finished component rather than a printed chart, because anodised and coated metal both shift shade with gloss level and with the underlying substrate. A realistic acceptance band is a delta-E of about 1.5 for anodising and slightly wider for coatings.
| Finish | Substrate | Wear resistance | Colour range | Cost index | Reads as |
|---|---|---|---|---|---|
| Brushed satin | Stainless steel | Very high | Metal tone only | 1.00 | Professional kitchen |
| Bead-blasted matte | Stainless steel | Very high | Metal tone only | 1.08 | Technical, modern, minimal |
| Anodised | Aluminium | High | Full palette | 1.30 | Premium, design-led, colourful |
| PVD metallic | Stainless steel | Very high | Golds, gunmetal, bronze | 1.75 | Luxury gifting |
| Powder-coated handle | Steel or aluminium | Medium | Unlimited | 1.15 | Colourful, accessible |
Finish should be chosen as a system, not per component. A brushed head with an anodised handle in the brand's signature colour, and the same anodised shade repeated on the scoop handle and the bin latch, is what makes a small capsule read as designed. Mixing three unrelated finishes across three SKUs is the fastest way to make an expensive range look assembled from a catalogue.
Handle Design, Grip and Ergonomics
The handle is the part the customer holds, and in a tool it determines whether the product feels considered or disposable. Three decisions shape it: substrate, grip material and section geometry. A bare metal handle is the cheapest and the least comfortable, particularly when wet. A moulded plastic handle over a metal core is the volume standard and is perfectly acceptable if the section is right. An overmoulded thermoplastic elastomer grip is the premium answer and is the single most effective comfort upgrade in the category.
Grip material matters more than the base. Thermoplastic elastomer gives a soft, slightly tacky surface that grips when wet and does not slip under load. Silicone gives a similar feel with better heat resistance and a more contemporary look. Both add a second material colour, which conveniently becomes the brand's accent across the capsule.
Section geometry is the cheapest quality signal available. A flat, thin handle feels cheap regardless of material. A rounded, slightly elliptical section that fills the palm reads expensive, and a subtle waist where the fingers wrap communicates that someone designed it. Add a soft radius where the handle meets the head, because a sharp transition there is the most common source of pressure discomfort in a tool used repeatedly.
Turning radius and leverage deserve measurement rather than opinion. A longer handle reduces the force needed per turn, which matters enormously to a buyer with limited hand strength, and it is the reason some of the best-regarded openers in any category are visibly larger than they need to be. Prototype two handle lengths and test with the actual cans your customers use, not with a single standard tin.
Two practical details complete the design. A hanging loop at the end of the handle keeps the tool on a hook rather than lost in a drawer, which preserves the visibility that makes the SKU worth having. And a slight overhang or guard above the cutting wheel keeps knuckles away from the can rim, a small piece of geometry that prevents the most common minor injury in the category.
Logo Methods on Metal
Metal accepts four marking routes, and unlike textiles or moulded plastic, the best of them requires no tooling at all. Laser marking is the default choice for a branded opener: it is permanent, it needs only a digital file, it works on stainless and on anodised aluminium, and it produces a crisp single-tone mark that reads premium precisely because it is not printed on.
Chemical etching works well for larger marks and gives a slightly recessed, soft-edged result that suits heritage styling. Screen or pad printing gives multi-colour artwork on coated handles but has the shortest service life of the four, because the printed surface is the one the hand touches. An insert badge - a small metal or enamel emblem set into the handle - gives the highest-end result and the highest unit cost.
| Method | Tooling | Colours | Durability | Best for |
|---|---|---|---|---|
| Laser mark | None | Single tone | Permanent | Default choice; stainless and anodised parts |
| Chemical etch | Mask | Single tone | Permanent | Large marks, heritage styling |
| Pad print | Plate and fixture | Up to 4 | Medium | Coated handles, seasonal artwork |
| Insert badge | Badge tool | Up to 4 enamel | Very high | Luxury gifting ranges |
Placement follows visibility in use. The flat outer face of the handle is the primary position and should carry the wordmark. The head, near the wheel, is a poor position because it is the part that gets wet and wiped. The end cap is a good secondary position and is visible when the tool hangs on a hook, which is exactly the visibility the brand is paying for.
Artwork rules for laser marking are specific. Solid filled areas mark unevenly on some alloys, so a mark designed as an outline or as a bold single-weight logo performs better than a mark with fine gradients. Minimum stroke weight should be around 0.4 mm, and text should stay above 4 mm cap height. Supply vector artwork and specify the mark depth, because a mark cut too deeply on a thin component will weaken it.
Safety, Edge Quality and Compliance
An opener is one of the few pet accessories with a genuine injury risk, and the design brief should treat edge quality as a safety specification rather than a finishing detail. The side-cutting mechanism already removes the worst risk by leaving a smooth outer rim, but the removed lid still has a cut edge, and the product's own components should have no burrs, no sharp parting-line flash and no exposed sharp corner anywhere the hand travels.
Write a measurable edge criterion into the tech pack rather than relying on a subjective instruction. A practical specification is that no accessible edge may catch on a light fabric swatch drawn across it under moderate pressure, verified on a sample from each production lot. That is a test an inspector can apply consistently, which is the whole point.
Material compliance should be scoped in parallel. Any metal or coating in contact with food needs a declaration; US obligations for consumer articles are administered by the U.S. Consumer Product Safety Commission, EU chemical obligations by ECHA, and California's warning regime published by OEHHA may apply to certain coatings and alloys. Independent verification through SGS on the first lot is inexpensive and gives retail compliance teams a document they can file.
Instructions and on-product warnings are part of the safety design. A single card with three frames - clamp, turn, lift - plus one line advising the user not to touch the cut lid is enough, and it materially reduces the minor-injury complaints that otherwise attach to this product type. Put the same three frames on the back of the box, because that is where the buyer reads before gifting.
Finally, consider the dishwasher question honestly. Many openers are labelled dishwasher safe when the mechanism in fact corrodes or dulls in a dishwasher. Either specify a grade and a coating that genuinely survive it, or say hand-wash on the card. The claim is the thing that gets tested by reviewers and the thing that generates the worst kind of feedback when it fails.
Gift Packaging and Premium Presentation
An opener is one of the few pet accessories that can be sold as a gift object, and packaging is what converts it. The formats worth considering are a rigid two-piece box with a die-cut insert, a printed sleeve over a plain box, and a magnetic-closure gift box. The rigid box with a fitted insert is the best balance: it protects the product, presents it at the right angle on opening, and does not carry the cost of a magnetic closure.
The insert is the detail that signals quality. A die-cut foam or moulded pulp insert that holds the opener at a slight angle, with the logo facing up, turns opening the box into a reveal. A product loose in a box with a piece of tissue looks like an accessory; a product presented at an angle looks like a tool worth owning.
Print on the box should be restrained. One strong colour, one clear product silhouette, the brand mark at a consistent size, and three factual lines - mechanism type, material, care instruction - is enough. Over-printing a small box is the most common packaging mistake in this category and it makes even a good product look promotional.
Inside, two printed pieces earn their place. A care card explaining how to clean and store the tool, and a range card showing the rest of the feeding capsule with the same palette. The range card is what turns a first purchase into a second one, and it costs almost nothing.
One sustainability note applies specifically here: a rigid box with a plastic tray is increasingly a liability with major retailers. A moulded pulp or paperboard insert achieves the same presentation, is recyclable as a single stream, and removes the objection before a buyer raises it. Specifying it at the start is far cheaper than re-tooling packaging after a listing review.
Sampling, Cost Structure and Launch Timing
Sampling is short because the mechanism is mature. Round one validates the mechanism, the handle feel and the edge quality on a stock finish. Round two confirms the production finish, the logo mark and the packaging. Allow 6-10 working days per round and test the sample on at least three can types, including an easy-open rim, because rim heights differ and a jaw tuned to one will slip on another.
Cost structure is unusually transparent. The mechanism and the steel grade are the fixed base, and everything the customer perceives - finish, grip, mark, box - sits on top as a modest increment. That means the highest-return spend is on finish and packaging rather than on a more expensive mechanism, and it means a brand can move an opener from a mid price band to a premium one for a surprisingly small increase in unit cost.
Bulk runs 35-50 days after approval, with inspection at AQL 2.5. The defect list should cover burrs and sharp edges, mechanism smoothness across a full turn, jaw grip on a standard rim, marking alignment and depth, and finish consistency across the lot. Finish consistency is the one that most often fails on metal, because anodising and coating both vary with bath conditions, so approving a range of acceptable chips rather than a single chip makes inspection fair to both sides.
Launch timing is flexible but should be coordinated. Because the opener is a gifting product, it sells hardest in the fourth quarter, and the packaging should be finalised early enough to be photographed for a seasonal catalogue. The disciplined approach is to develop it in the second quarter, approve packaging in the third, and launch alongside the rest of the feeding capsule rather than alone.
Two commercial habits close the programme out well. Order the packaging in the same cycle as the product so the printed and anodised shades can be matched against each other, and hold a small finished-goods buffer through the gift season, because the lead time restarts with every reorder and the selling window does not wait.
Production capability
- SGS-verified production space of 4,950 m², 149 machines, 7 assembly lines
- Pet carrier and pet bag output since 2014 from a 137-person team
- 200,000 units shipped monthly under BSCI and ISO 9001 systems
People Also Ask
What type of can opener is best for pet food cans?
A side-cutting rotary opener, because it removes the lid without leaving a sharp inner edge and needs less grip strength. It also lets the lid be placed back on the can for short-term storage.
Are pet food can openers dishwasher safe?
Some are, depending on the steel grade and coating. Check the care instruction rather than assuming; a mechanism that corrodes in a dishwasher will rust and stiffen within a season.
How do you clean a can opener?
Wipe the cutting head with a damp cloth and a mild detergent, dry it immediately, and never submerge the mechanism. A small brush removes food residue from the jaw without soaking the tool.
Why does my can opener slip off the rim?
Usually because the jaw is tuned to a standard rim height and the can uses an easy-open rim, or because the cutting wheel has dulled. Test across several can types before committing to a design.
Can you engrave a logo on stainless steel?
Yes, by laser marking, which produces a permanent single-tone mark with no tooling. Outline or single-weight logos mark more evenly than large filled areas.
What makes a can opener feel premium?
Finish, grip and presentation. A brushed or anodised head, an overmoulded soft grip and a rigid box with a fitted insert together change perceived value far more than the mechanism itself.
Frequently Asked Questions
What is the MOQ for a custom pet food can opener?
MOQ is 500 units per finish. Because the mechanism is usually adapted from an existing tool, development cost stays low and the budget is best spent on finish, grip, marking and packaging.
Which cutting mechanism should we choose?
A side-cutting rotary mechanism is the better choice for a premium pet product: it leaves no sharp inner edge, lifts the lid cleanly and requires less hand strength. A top-cutting mechanism is cheaper and more compact but leaves a sharp lid underside.
How should we apply our logo to a metal opener?
Laser marking is the default: permanent, no tooling, works on stainless and anodised aluminium. Pad printing suits multi-colour artwork on coated handles, and an insert badge suits luxury gifting ranges.
How long does sampling take?
Two rounds at 6-10 working days each. Test the sample on at least three can types including an easy-open rim, because rim heights differ and a jaw tuned to one will slip on another.
Is anodising better than coating for colour?
Anodising gives a hard integral coloured layer with excellent wear resistance and is the premium choice on aluminium components. Coating gives unlimited colour on any substrate at lower cost but can chip at edges.
Should the opener be dishwasher safe?
Only if you specify a steel grade and coating that genuinely survive it. Many openers are labelled dishwasher safe and then corrode or dull; if you cannot spec for it, say hand-wash on the card.
What inspection standard applies?
AQL 2.5 with a defect list covering burrs and sharp edges, mechanism smoothness, jaw grip on a standard rim, marking alignment and depth, and finish consistency across the lot.
How do we specify edge safety?
Write a measurable criterion: no accessible edge may catch a light fabric swatch drawn across it under moderate pressure, verified on a sample from each lot. A testable criterion is what makes inspection consistent.
Do we need material compliance documentation?
Yes. Obtain a food-contact declaration for metal and coatings, and confirm market obligations - CPSC in the US, ECHA in the EU, and California Prop 65 where applicable to coatings and alloys.
What packaging works best for a premium opener?
A rigid two-piece box with a die-cut insert that presents the tool at a slight angle. Use a moulded pulp or paperboard insert rather than a plastic tray, since plastic trays are increasingly a retailer objection.
What is the bulk lead time?
35-50 days after sample approval. Order packaging in the same production cycle so printed and anodised shades can be matched against each other before the lot ships.
Can the opener be part of a larger feeding capsule?
Yes, and it should be. Paired with a measuring scoop, a storage bin and a bowl in a shared palette, the opener anchors a feeding block that earns retailer space far more easily than a single accessory.
When should a can opener launch?
Develop in the second quarter, approve packaging in the third, and launch with the rest of the feeding capsule in the fourth quarter, when the gifting pattern is strongest.
Talk to QUANZHOU JUNYUAN BAGS about a pet carrier program: MOQ 500 pieces per colourway, samples in 6-10 working days, bulk production in 35-50 days under AQL 2.5 inspection.
Get a free quote Request a sample